Search

Delicious Vegan Thanksgiving Tips for a Compassionate Holiday Feast

Delicious ThanksVegan Tips from PETA

Thanksgiving is a time for gathering with loved ones, sharing gratitude, and indulging in delicious meals. However, for those embracing a vegan lifestyle, holiday dinners can be challenging to navigate. Fear not! **PETA** offers fantastic advice and recipes to ensure your Thanksgiving is both compassionate and delectable. Let’s dive into these incredible tips to make your ThanksVegan meal an unforgettable experience.

Why Choose a Vegan Thanksgiving?

Choosing a vegan Thanksgiving is a decision that reflects compassion, sustainability, and a commitment to health:

Compassionate Choices: Avoiding animal products prevents the needless suffering of millions of animals.
Sustainable Living: A plant-based diet significantly reduces your environmental footprint.
Health Benefits: Vegan diets are often lower in saturated fats and cholesterol, leading to better heart health and overall well-being.

These benefits make it worth considering a plant-based feast this holiday season.

Top Tips for a Memorable ThanksVegan

Planning Your Menu

The key to a successful vegan Thanksgiving lies in thoughtful planning. Here’s how to ensure everything goes smoothly:

  • Research Recipes: Start by researching vegan recipes that can replace traditional dishes. Think about plant-based twists on staples like mashed potatoes, stuffing, and even turkey alternatives.
  • Create a Balanced Menu: Ensure your menu has a variety of dishes, including appetizers, mains, sides, and desserts, so everyone finds something they love.
  • Practice in Advance: If you’re trying new recipes, consider doing a trial run to perfect them before the big day.
  • Appetizers and Starters

    Set the tone for your ThanksVegan feast with these delightful vegan appetizers:

  • Stuffed Mushrooms: Fill mushrooms with a mix of breadcrumbs, garlic, and herbs for a savory bite-sized treat.
  • Roasted Vegetable Platter: Offer a variety of colorful, roasted vegetables with a side of hummus or vegan aioli.
  • Crispy Cauliflower Wings: Coat cauliflower florets in a batter, bake until crispy, and serve with your favorite dipping sauce.
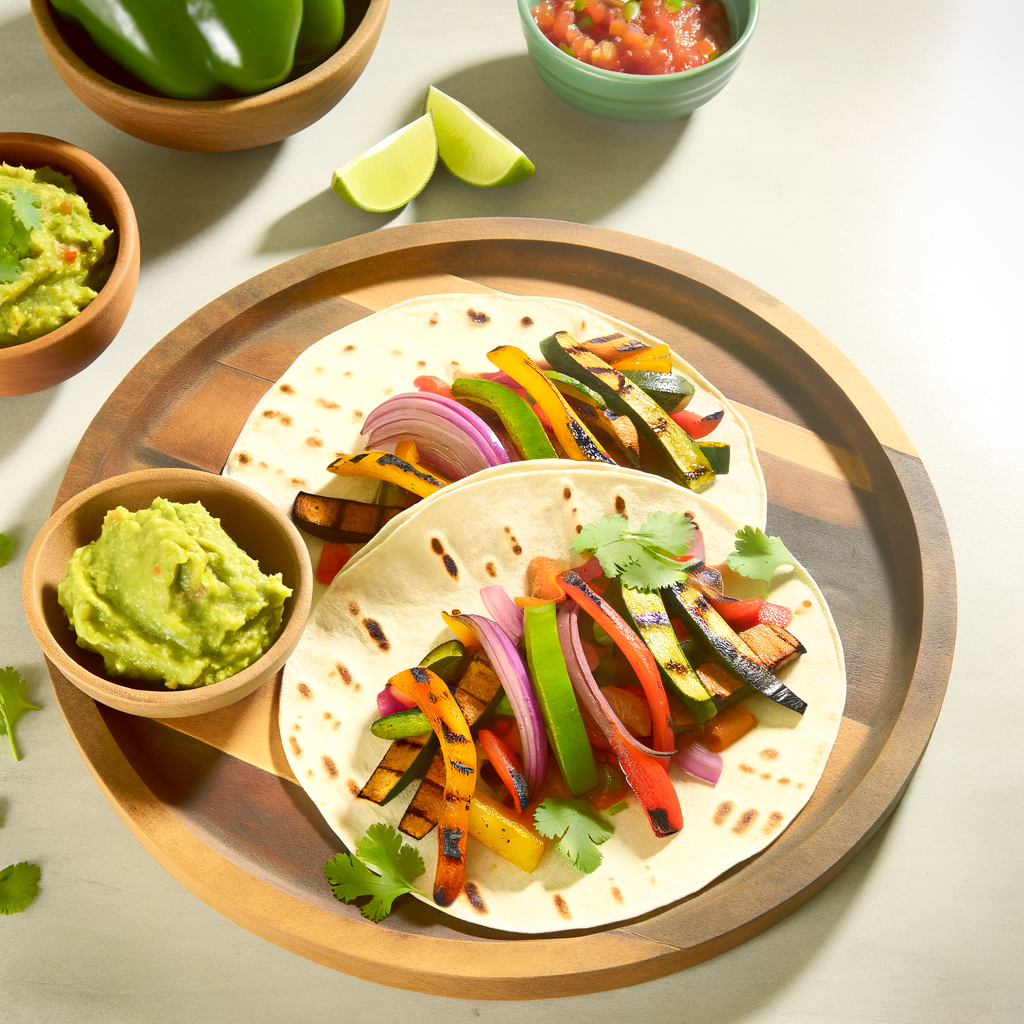
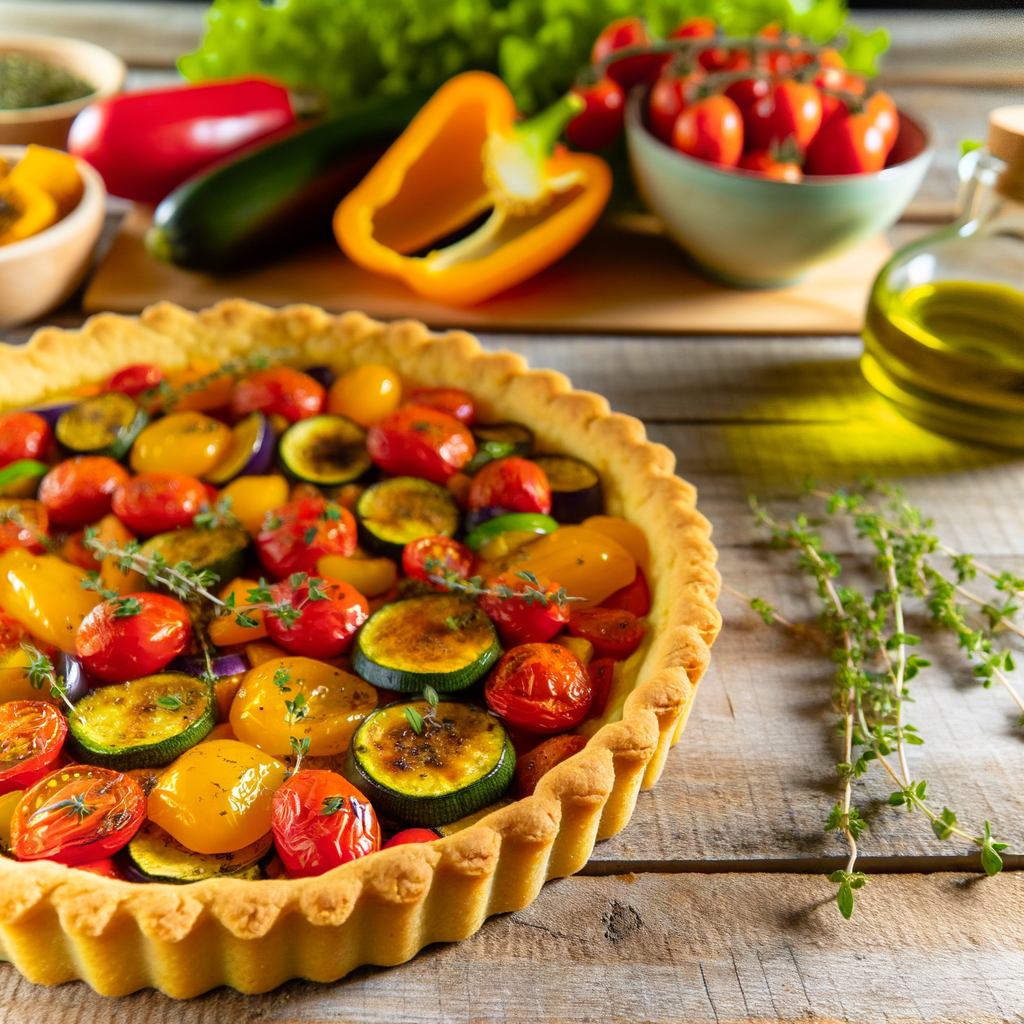
  • Main Course Masterpieces

    While turkey is traditionally the star of Thanksgiving, your vegan main course can steal the show:

  • Roast Tofurky: This plant-based roast is a popular turkey alternative. It pairs perfectly with traditional sides and gravy.
  • Stuffed Squash: Roast acorn or butternut squash halves filled with a mixture of quinoa, cranberries, and nuts for a delicious and visually appealing main course.
  • Hearty Lentil Loaf: Combine lentils, vegetables, and spices to create a satisfying and flavorful loaf.
  • Side Dish Sensations

    No Thanksgiving meal is complete without a variety of mouth-watering sides:

  • Mashed Potatoes: Creamy mashed potatoes can be made vegan by replacing butter with plant-based margarine and using almond or soy milk.
  • Veggie Stuffing: Traditional stuffing can easily be veganized by using vegetable broth and omitting meat.
  • Green Bean Casserole: Use plant-based milk and a homemade mushroom sauce to create a cruelty-free version of this classic dish.
  • Cranberry Sauce: Make a fresh cranberry sauce by simmering cranberries with orange juice and a bit of sugar.
  • Delicious Desserts

    End your meal on a sweet note with these vegan dessert options:

  • Pumpkin Pie: A vegan pumpkin pie can be made using coconut milk and a flaxseed-based crust.
  • Apple Crumble: Combine apples, oats, cinnamon, and a bit of maple syrup for a warm, comforting dessert.
  • Chocolate Avocado Mousse: Blend ripe avocados with cocoa powder and sweetener for a rich and creamy treat.
  • Serving and Presentation Tips

    Presentation is key to making your ThanksVegan meal feel special:

    Set the Table: Create a beautiful tablescape with seasonal decorations like pumpkins, gourds, and autumn leaves.
    Label Dishes: Clearly label each dish as vegan to avoid any confusion among guests.
    Engage with Guests: Share the inspiration behind your plant-based choices and the benefits of eating vegan.

    Beverage Pairings

    Complement your meal with these vegan-friendly drink options:

    Seasonal Mocktails: Serve apple cider or cranberry spritzers for non-alcoholic choices.
    Vegan Wines: Many wines are vegan, but it’s important to double-check labels to confirm.
    Plant-Based Lattes: Finish with a cozy pumpkin spice or chai latte made with almond or oat milk.

    Making It a Community Effort

    Thanksgiving is about coming together. Encourage a collaborative spirit by asking your guests to contribute:

  • Potluck Style: Invite friends and family to bring their favorite vegan dish, ensuring a diverse and plentiful spread.
  • Cook Together: Turn meal prep into a fun group activity, fostering bonding and making memories.
  • Share Recipes: Provide copies of your recipes for guests to take home and try themselves.
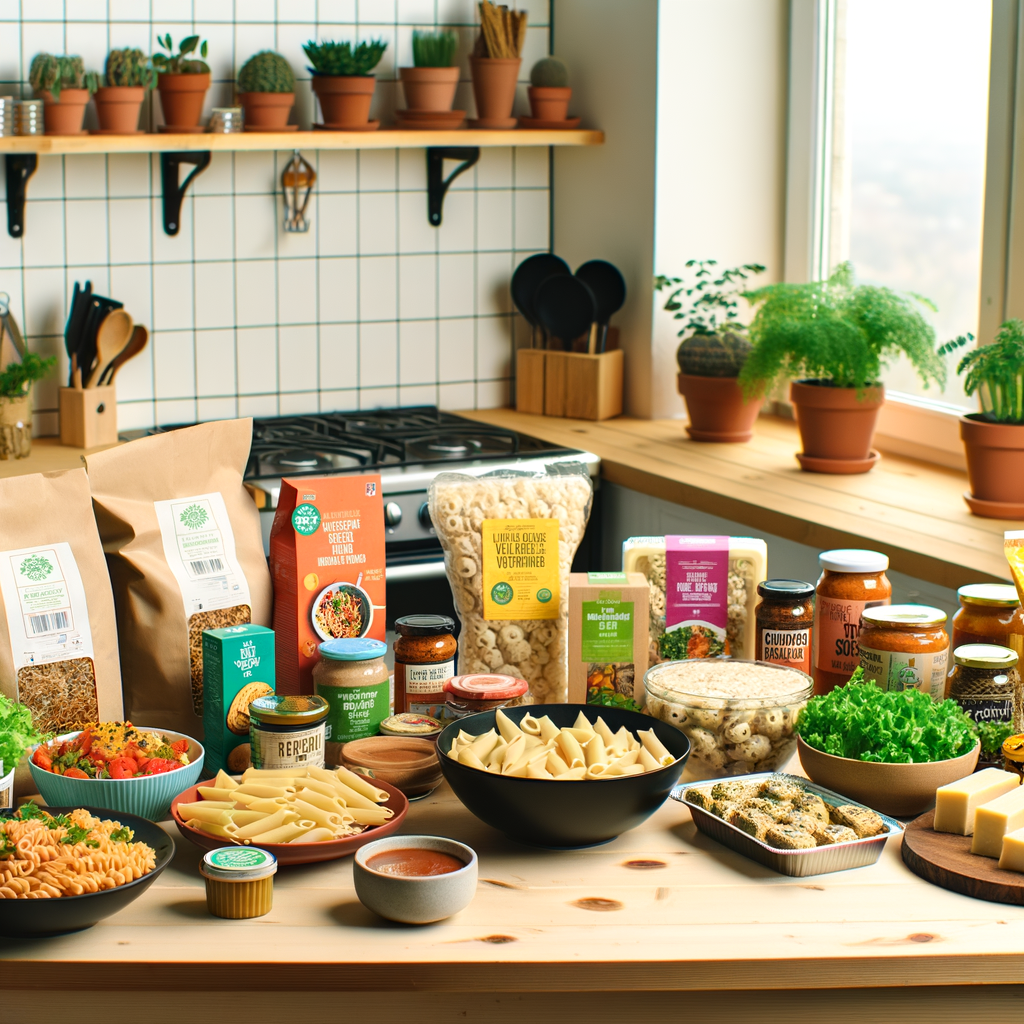
  • Resources for a Seamless ThanksVegan

    To make your vegan Thanksgiving planning even easier, consider utilizing these resources:

    Vegan Recipe Blogs: Many blogs specialize in vegan adaptations of classic recipes.
    Cookbooks: There are numerous cookbooks dedicated entirely to vegan holiday meals.
    Online Communities: Join forums and groups where people share tips and support each other’s plant-based journeys.

    A vegan Thanksgiving is a wonderful way to show love and respect for all living beings while enjoying a feast full of flavor and tradition. Whether you’re a seasoned vegan or just starting on this journey, these tips from PETA will help you create a memorable and heartwarming holiday.

    Get our best recipes & expert tips right into your inbox!

    Join over 10k subscribers

    By submitting above, you agree to our privacy policy.

    You might also like

    Delicious Homemade Almond Milk Yogurt Recipe Using Instant Pot --- Are you in search of a dairy-free yogurt alternative that's both delicious and healthy? Look no further! With the help of your Instant Pot, you can now create perfectly creamy almond milk yogurt at home. Not only is this homemade version free from additives and preservatives, but it's also incredibly easy to make. Here's a step-by-step guide to get you started on your culinary adventure. ### Ingredients You’ll Need: - 4 cups of unsweetened almond milk - 1-2 tablespoons of agar-agar or gelatin (for thickening) - 2 tablespoons of probiotic yogurt starter or dairy-free yogurt - 1-2 tablespoons of maple syrup or honey (optional) ### Equipment: - Instant Pot with yogurt setting - Whisk - Instant Pot-compatible glass jars (optional but recommended) ### Step-by-Step Instructions: #### 1. Prepare the Almond Milk Mixture Firstly, pour the unsweetened almond milk into your Instant Pot. If you’re using agar-agar or gelatin, sprinkle it into the almond milk. Whisk the mixture thoroughly to ensure that the thickening agent is well-dissolved. This step is crucial for getting the right yogurt consistency. #### 2. Heat the Mixture Set your Instant Pot to the 'Saute' setting to heat the almond milk mixture. Stir frequently to prevent the milk from scorching. Heat until the mixture reaches approximately 185°F (85°C). This process helps to break down proteins and ensure consistency. #### 3. Cool the Mixture Turn off the Instant Pot and allow the almond milk mixture to cool down to about 110°F (43°C). You can speed up this process by placing the inner pot in a cold water bath. Use a thermometer to check the temperature - this is important as adding the yogurt starter to a mixture that's too hot can kill the beneficial bacteria. #### 4. Add the Yogurt Starter Once the mixture cooled to the appropriate temperature, add the probiotic yogurt starter or dairy-free yogurt. Whisk thoroughly to ensure the starter is evenly distributed. Adding sweetener at this stage is optional but can enhance the flavor of your yogurt. #### 5. Incubate the Yogurt Select the 'Yogurt' setting on your Instant Pot. Secure the lid (no need to seal, as pressure is not required) and set the time for 8-12 hours. Longer incubation results in tangier yogurt. You can use Instant Pot-compatible glass jars at this stage for convenient storage later. #### 6. Chill and Enjoy Once the incubation period is complete, carefully transfer the yogurt into glass containers and refrigerate for at least 4 hours. This chilling period helps the yogurt to set properly. ### Tips for Perfect Homemade Almond Milk Yogurt: - Use unsweetened almond milk for best results. - Ensure your Instant Pot and utensils are thoroughly clean to avoid contamination. - Experiment with different incubation times to find your perfect tanginess level. ### Conclusion Making almond milk yogurt at home using an Instant Pot is a rewarding and straightforward process. This dairy-free delight is perfect for those with dietary restrictions or anyone looking to enjoy a healthier yogurt alternative. Give it a try, and you might never go back to store-bought yogurt again. Happy yogurt-making!

    Delicious Homemade Almond Milk Yogurt Recipe Using Instant Pot — Are you in search of a dairy-free yogurt alternative that’s both delicious and healthy? Look no further! With the help of your Instant Pot, you can now create perfectly creamy almond milk yogurt at home. Not only is this homemade version free from additives and preservatives, but it’s also incredibly easy to make. Here’s a step-by-step guide to get you started on your culinary adventure. ### Ingredients You’ll Need: – 4 cups of unsweetened almond milk – 1-2 tablespoons of agar-agar or gelatin (for thickening) – 2 tablespoons of probiotic yogurt starter or dairy-free yogurt – 1-2 tablespoons of maple syrup or honey (optional) ### Equipment: – Instant Pot with yogurt setting – Whisk – Instant Pot-compatible glass jars (optional but recommended) ### Step-by-Step Instructions: #### 1. Prepare the Almond Milk Mixture Firstly, pour the unsweetened almond milk into your Instant Pot. If you’re using agar-agar or gelatin, sprinkle it into the almond milk. Whisk the mixture thoroughly to ensure that the thickening agent is well-dissolved. This step is crucial for getting the right yogurt consistency. #### 2. Heat the Mixture Set your Instant Pot to the ‘Saute’ setting to heat the almond milk mixture. Stir frequently to prevent the milk from scorching. Heat until the mixture reaches approximately 185°F (85°C). This process helps to break down proteins and ensure consistency. #### 3. Cool the Mixture Turn off the Instant Pot and allow the almond milk mixture to cool down to about 110°F (43°C). You can speed up this process by placing the inner pot in a cold water bath. Use a thermometer to check the temperature – this is important as adding the yogurt starter to a mixture that’s too hot can kill the beneficial bacteria. #### 4. Add the Yogurt Starter Once the mixture cooled to the appropriate temperature, add the probiotic yogurt starter or dairy-free yogurt. Whisk thoroughly to ensure the starter is evenly distributed. Adding sweetener at this stage is optional but can enhance the flavor of your yogurt. #### 5. Incubate the Yogurt Select the ‘Yogurt’ setting on your Instant Pot. Secure the lid (no need to seal, as pressure is not required) and set the time for 8-12 hours. Longer incubation results in tangier yogurt. You can use Instant Pot-compatible glass jars at this stage for convenient storage later. #### 6. Chill and Enjoy Once the incubation period is complete, carefully transfer the yogurt into glass containers and refrigerate for at least 4 hours. This chilling period helps the yogurt to set properly. ### Tips for Perfect Homemade Almond Milk Yogurt: – Use unsweetened almond milk for best results. – Ensure your Instant Pot and utensils are thoroughly clean to avoid contamination. – Experiment with different incubation times to find your perfect tanginess level. ### Conclusion Making almond milk yogurt at home using an Instant Pot is a rewarding and straightforward process. This dairy-free delight is perfect for those with dietary restrictions or anyone looking to enjoy a healthier yogurt alternative. Give it a try, and you might never go back to store-bought yogurt again. Happy yogurt-making!