Search

Simple Vegan Desserts with Minimal Ingredients for Guilt-Free Indulgence

Delicious Vegan Desserts Made Simple

In today’s health-conscious world, vegan desserts have become a delightful choice for many who seek sweet treats without animal-based ingredients. Discovering easy-to-make vegan desserts with just 4 or fewer ingredients might sound like a tall task, but it’s entirely possible. This exploration into the world of minimal-component treats will leave your taste buds satisfied and your kitchen time well spent.

The Simplicity of Vegan Desserts

One of the most appealing aspects of vegan desserts is their simplicity. Minimalism in cooking not only saves time but also highlights the rich, natural flavors of the ingredients used. This is crucial in maintaining a healthy lifestyle while indulging in the occasional sweet craving.

Understanding the Basics

When crafting vegan desserts with such minimal ingredients, it becomes essential to focus on:

  • Quality Ingredients: With only a handful of components, each must be of the highest possible quality to ensure flavor in its purest form.
  • Balancing Flavors: The limited number of ingredients means each must complement the other perfectly, offering a balanced taste experience.
  • Texture Variations: From creamy to crunchy, using different combinations can create wonderful contrasts.

Exploring the Top Vegan Dessert Recipes

Let’s dive into these five easy-to-make vegan desserts that are perfect for a weekend treat or a quick dessert fix any day.

1. Chocolate Banana Ice Cream

Enjoy a creamy, chocolate-infused delight that requires no more than frozen bananas and cocoa powder.

  • Ingredients Required: 2 frozen bananas, 2 tablespoons of cocoa powder.
  • Instructions: Blend the frozen bananas in a high-powered blender until smooth. Gradually add the cocoa powder, blending continuously until the mixture resembles soft-serve ice cream.
  • Serving Suggestion: For an extra touch, sprinkle crushed nuts or vegan chocolate chips on top.

2. Peanut Butter Fudge

Indulge in this gooey delight that’s sure to be a hit among peanut butter lovers.

  • Ingredients Required: 1 cup peanut butter, 1/4 cup melted coconut oil, 1/4 cup maple syrup.
  • Instructions: Mix all ingredients in a bowl until well combined. Pour mixture into a lined pan, then freeze for 1-2 hours or until firm.
  • Serving Suggestion: Slice into bite-sized pieces for easy consumption.

3. Coconut Macaroons

Transport yourself to tropical paradises with these chewy, coconutty treats.

  • Ingredients Required: 2 cups shredded coconut, 1/4 cup maple syrup.
  • Instructions: In a bowl, mix shredded coconut with maple syrup until well coated. Shape into small balls and bake at 350°F (175°C) for 10-15 minutes or until golden.
  • Serving Suggestion: Let cool before serving, optionally drizzle with melted dark chocolate for an extra layer of flavor.

4. Chia Seed Pudding

Experience the perfect breakfast or dessert treat with the creamy texture of chia seed pudding.

  • Ingredients Required: 2 tablespoons chia seeds, 1 cup almond milk, 1 tablespoon maple syrup or agave.
  • Instructions: Combine all ingredients in a jar and mix thoroughly. Refrigerate for at least 4 hours or overnight to allow the seeds to swell and thicken to pudding-like consistency.
  • Serving Suggestion: Before serving, top with fresh berries or sliced almonds.

5. Date Truffles

These energy-packed bites are perfect for a quick snack or a healthy dessert option.

  • Ingredients Required: 1 cup pitted dates, 2 tablespoons raw cocoa powder.
  • Instructions: Process dates and cocoa powder in a food processor until a sticky dough forms. Roll small amounts of dough into balls and coat with additional cocoa powder if desired.
  • Serving Suggestion: Store in the fridge for firmness and enjoy chilled.

The Advantages of Minimal-Ingredient Desserts

Crafting desserts with fewer ingredients has several benefits, including:

  • Time Efficiency: Quick to prepare, ideal for last-minute gatherings or spontaneous dessert cravings.
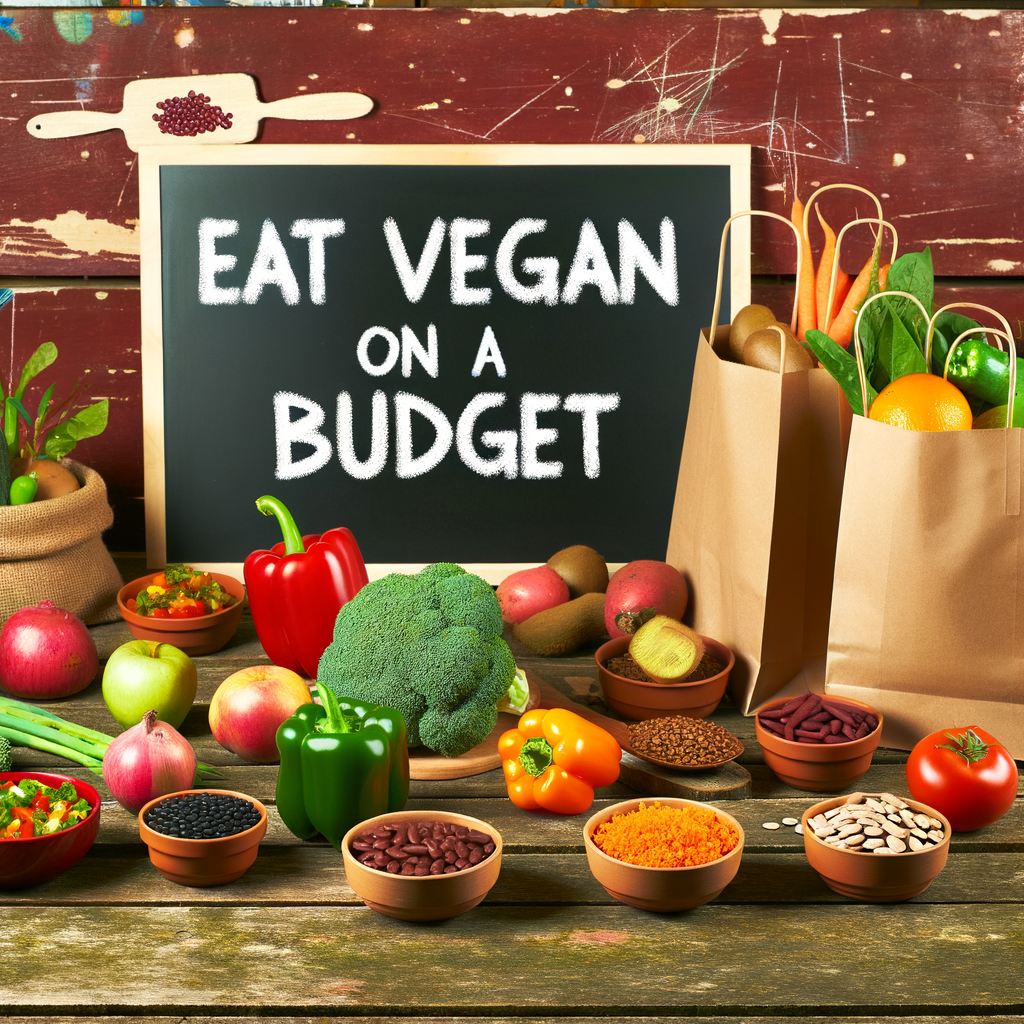
  • Budget-Friendly: Fewer ingredients mean reduced grocery bills while still allowing for creative expression in the kitchen.
  • Healthier Options: With fewer preserved or processed ingredients, these recipes often deliver higher nutritional value.

Bring Simplicity and Flavor to Your Kitchen

Making vegan desserts with 4 or fewer ingredients is not just feasible but also a delightful venture. As you experiment with these recipes, remember the key is to have fun and let your creativity flow. These simple yet delectable treats provide a perfect way to pamper yourself and your loved ones while staying true to a healthy, ethical lifestyle. Whether you’re an experienced vegan baker or a curious newbie, these easy recipes are bound to become staples in your dessert repertoire. Enjoy the delicious simplicity!

Get our best recipes & expert tips right into your inbox!

Join over 10k subscribers

By submitting above, you agree to our privacy policy.

You might also like

Delicious Homemade Almond Milk Yogurt Recipe Using Instant Pot --- Are you in search of a dairy-free yogurt alternative that's both delicious and healthy? Look no further! With the help of your Instant Pot, you can now create perfectly creamy almond milk yogurt at home. Not only is this homemade version free from additives and preservatives, but it's also incredibly easy to make. Here's a step-by-step guide to get you started on your culinary adventure. ### Ingredients You’ll Need: - 4 cups of unsweetened almond milk - 1-2 tablespoons of agar-agar or gelatin (for thickening) - 2 tablespoons of probiotic yogurt starter or dairy-free yogurt - 1-2 tablespoons of maple syrup or honey (optional) ### Equipment: - Instant Pot with yogurt setting - Whisk - Instant Pot-compatible glass jars (optional but recommended) ### Step-by-Step Instructions: #### 1. Prepare the Almond Milk Mixture Firstly, pour the unsweetened almond milk into your Instant Pot. If you’re using agar-agar or gelatin, sprinkle it into the almond milk. Whisk the mixture thoroughly to ensure that the thickening agent is well-dissolved. This step is crucial for getting the right yogurt consistency. #### 2. Heat the Mixture Set your Instant Pot to the 'Saute' setting to heat the almond milk mixture. Stir frequently to prevent the milk from scorching. Heat until the mixture reaches approximately 185°F (85°C). This process helps to break down proteins and ensure consistency. #### 3. Cool the Mixture Turn off the Instant Pot and allow the almond milk mixture to cool down to about 110°F (43°C). You can speed up this process by placing the inner pot in a cold water bath. Use a thermometer to check the temperature - this is important as adding the yogurt starter to a mixture that's too hot can kill the beneficial bacteria. #### 4. Add the Yogurt Starter Once the mixture cooled to the appropriate temperature, add the probiotic yogurt starter or dairy-free yogurt. Whisk thoroughly to ensure the starter is evenly distributed. Adding sweetener at this stage is optional but can enhance the flavor of your yogurt. #### 5. Incubate the Yogurt Select the 'Yogurt' setting on your Instant Pot. Secure the lid (no need to seal, as pressure is not required) and set the time for 8-12 hours. Longer incubation results in tangier yogurt. You can use Instant Pot-compatible glass jars at this stage for convenient storage later. #### 6. Chill and Enjoy Once the incubation period is complete, carefully transfer the yogurt into glass containers and refrigerate for at least 4 hours. This chilling period helps the yogurt to set properly. ### Tips for Perfect Homemade Almond Milk Yogurt: - Use unsweetened almond milk for best results. - Ensure your Instant Pot and utensils are thoroughly clean to avoid contamination. - Experiment with different incubation times to find your perfect tanginess level. ### Conclusion Making almond milk yogurt at home using an Instant Pot is a rewarding and straightforward process. This dairy-free delight is perfect for those with dietary restrictions or anyone looking to enjoy a healthier yogurt alternative. Give it a try, and you might never go back to store-bought yogurt again. Happy yogurt-making!

Delicious Homemade Almond Milk Yogurt Recipe Using Instant Pot — Are you in search of a dairy-free yogurt alternative that’s both delicious and healthy? Look no further! With the help of your Instant Pot, you can now create perfectly creamy almond milk yogurt at home. Not only is this homemade version free from additives and preservatives, but it’s also incredibly easy to make. Here’s a step-by-step guide to get you started on your culinary adventure. ### Ingredients You’ll Need: – 4 cups of unsweetened almond milk – 1-2 tablespoons of agar-agar or gelatin (for thickening) – 2 tablespoons of probiotic yogurt starter or dairy-free yogurt – 1-2 tablespoons of maple syrup or honey (optional) ### Equipment: – Instant Pot with yogurt setting – Whisk – Instant Pot-compatible glass jars (optional but recommended) ### Step-by-Step Instructions: #### 1. Prepare the Almond Milk Mixture Firstly, pour the unsweetened almond milk into your Instant Pot. If you’re using agar-agar or gelatin, sprinkle it into the almond milk. Whisk the mixture thoroughly to ensure that the thickening agent is well-dissolved. This step is crucial for getting the right yogurt consistency. #### 2. Heat the Mixture Set your Instant Pot to the ‘Saute’ setting to heat the almond milk mixture. Stir frequently to prevent the milk from scorching. Heat until the mixture reaches approximately 185°F (85°C). This process helps to break down proteins and ensure consistency. #### 3. Cool the Mixture Turn off the Instant Pot and allow the almond milk mixture to cool down to about 110°F (43°C). You can speed up this process by placing the inner pot in a cold water bath. Use a thermometer to check the temperature – this is important as adding the yogurt starter to a mixture that’s too hot can kill the beneficial bacteria. #### 4. Add the Yogurt Starter Once the mixture cooled to the appropriate temperature, add the probiotic yogurt starter or dairy-free yogurt. Whisk thoroughly to ensure the starter is evenly distributed. Adding sweetener at this stage is optional but can enhance the flavor of your yogurt. #### 5. Incubate the Yogurt Select the ‘Yogurt’ setting on your Instant Pot. Secure the lid (no need to seal, as pressure is not required) and set the time for 8-12 hours. Longer incubation results in tangier yogurt. You can use Instant Pot-compatible glass jars at this stage for convenient storage later. #### 6. Chill and Enjoy Once the incubation period is complete, carefully transfer the yogurt into glass containers and refrigerate for at least 4 hours. This chilling period helps the yogurt to set properly. ### Tips for Perfect Homemade Almond Milk Yogurt: – Use unsweetened almond milk for best results. – Ensure your Instant Pot and utensils are thoroughly clean to avoid contamination. – Experiment with different incubation times to find your perfect tanginess level. ### Conclusion Making almond milk yogurt at home using an Instant Pot is a rewarding and straightforward process. This dairy-free delight is perfect for those with dietary restrictions or anyone looking to enjoy a healthier yogurt alternative. Give it a try, and you might never go back to store-bought yogurt again. Happy yogurt-making!