Customize Consent Preferences

We use cookies to help you navigate efficiently and perform certain functions. You will find detailed information about all cookies under each consent category below.

The cookies that are categorized as "Necessary" are stored on your browser as they are essential for enabling the basic functionalities of the site. ... 

Always Active

Necessary cookies are required to enable the basic features of this site, such as providing secure log-in or adjusting your consent preferences. These cookies do not store any personally identifiable data.

No cookies to display.

Functional cookies help perform certain functionalities like sharing the content of the website on social media platforms, collecting feedback, and other third-party features.

No cookies to display.

Analytical cookies are used to understand how visitors interact with the website. These cookies help provide information on metrics such as the number of visitors, bounce rate, traffic source, etc.

No cookies to display.

Performance cookies are used to understand and analyze the key performance indexes of the website which helps in delivering a better user experience for the visitors.

No cookies to display.

Advertisement cookies are used to provide visitors with customized advertisements based on the pages you visited previously and to analyze the effectiveness of the ad campaigns.

No cookies to display.

Search

Delicious Vegan Filipinx Recipes to Try: Adobo, Sisig, and More

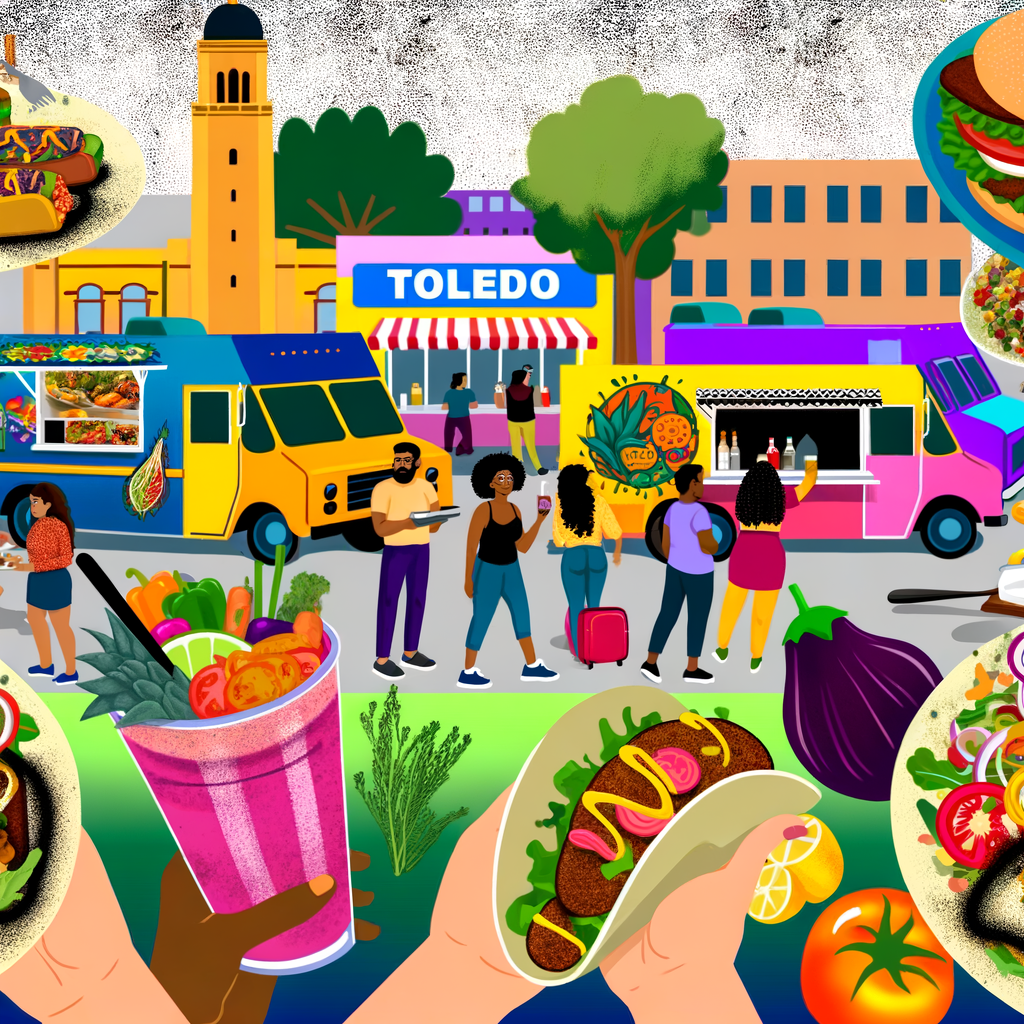
Exploring Vegan Filipinx Cuisine: A Culinary Adventure

The world of Filipinx cuisine is rich with flavors, vibrant colors, and a vast array of dishes that speak to a long history of cultural influences and indigenous practices. As the global trend of veganism continues to grow, food enthusiasts are finding ways to explore traditional ingredients and reimagine them in plant-based forms. This culinary journey opens up a new frontier for those eager to explore the savory and sweet delights of Filipinx flavors with a vegan twist.

The Heart of Vegan Filipinx Cuisine

Cultural Inspirations

Filipinx cuisine is a tapestry woven from various cultural influences including Malay, Chinese, Spanish, and American. This amalgamation creates a unique taste that uses ingredients ranging from tropical fruits to a variety of vegetables and spices. Transitioning these traditional dishes into vegan-friendly options involves creativity and an understanding of the essence of each recipe.

Why Vegan?

Choosing a vegan lifestyle brings multiple benefits:

  • Environmental Impact: Reducing agricultural emissions and promoting sustainable practices.
  • Health Benefits: Lowering cholesterol levels, improving heart health, and increasing energy levels.
  • Ethical Considerations: Leading a compassionate lifestyle that avoids animal cruelty.

Against this backdrop, vegan Filipinx recipes offer an exciting opportunity to enjoy culinary diversity while sticking to ethical and health-conscious choices.

Staple Ingredients in Vegan Filipinx Recipes

The Mighty Coconut

Coconuts play a vital role in Filipinx dishes. They are versatile, providing coconut milk, coconut oil, and coconut meat—each adding unique textures and flavors. For vegan adaptations, coconut milk often replaces dairy due to its creamy consistency, making it a great alternative for traditional creamy sauces and desserts.

Fruits and Vegetables Galore

Filipinx cuisine loves local produce such as **bananas, mangoes, jackfruit,** and **sweet potatoes**. These fruits and veggies not only offer a colorful palette but also provide the base for both sweet and savory dishes:

  • Jackfruit: Often used as a substitute for meat due to its chewy texture and ability to absorb flavors.
  • Banana Blossoms: Ideal for replicating the texture of fish in vegan dishes.
  • Kangkong (Water Spinach): A leafy green used extensively for its nutritional benefits and earthy flavor.

Spices and Seasonings

The rich aroma and palate-opening flavors of Filipinx dishes owe much to aromatic herbs and spices like ginger, garlic, chili peppers, black pepper, and lemongrass. Soy sauce, vinegar, and citrus add a tangy kick that balances the sweet and savory elements in many recipes.

Popular Vegan Filipinx Dishes

Adobo

Adobo is a quintessential Filipinx dish that gets a vegan makeover using tofu or tempeh marinated in **soy sauce, vinegar, garlic, and bay leaves**. This zesty dish showcases the balance of savory, sour, and slightly sweet notes, making it a staple favorite even for those new to veganism.
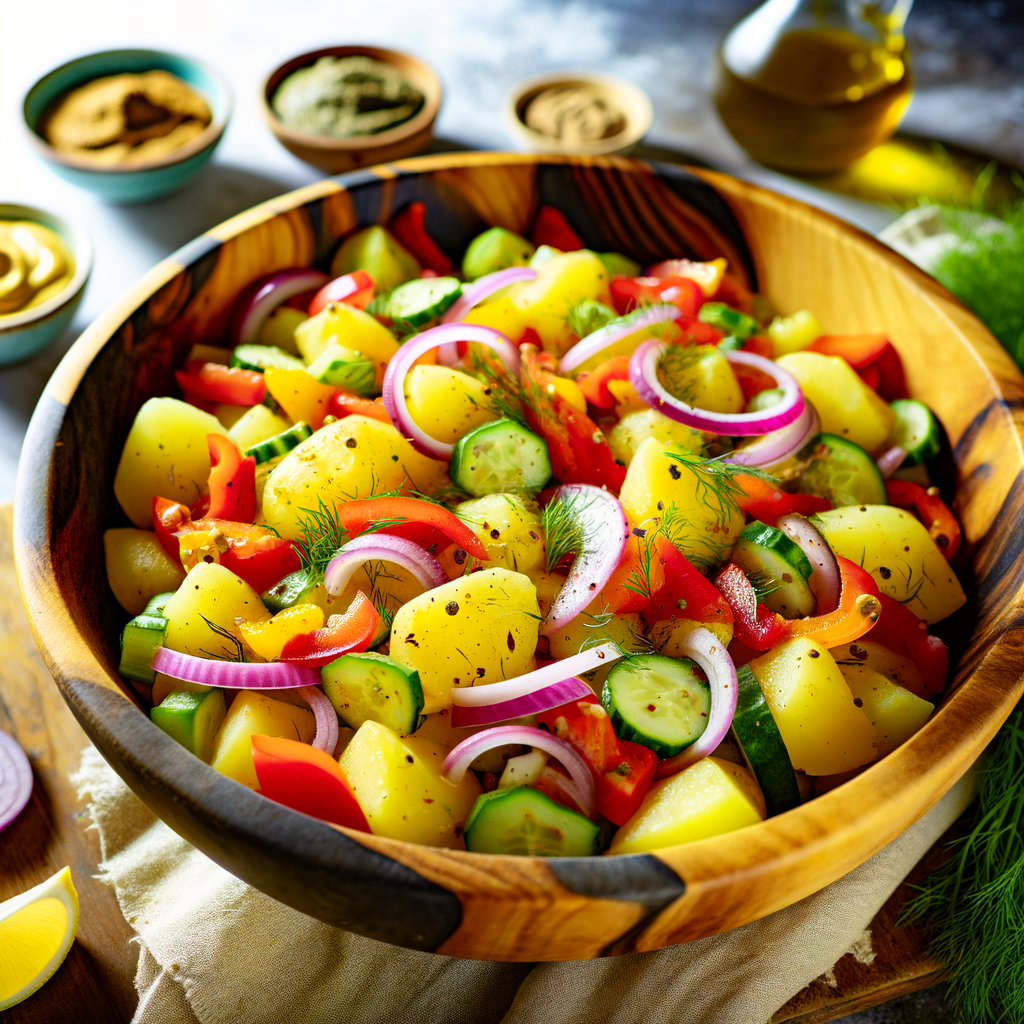
Sinigang

For a heartwarming soup experience, Sinigang is an excellent choice. The use of tamarind paste makes it tangy and comforting. Traditionally, Sinigang is made with a protein-based broth, but in its vegan form, it incorporates an abundance of vegetables like **eggplant, radish, tomatoes, and green beans** for a nutrient-rich option.
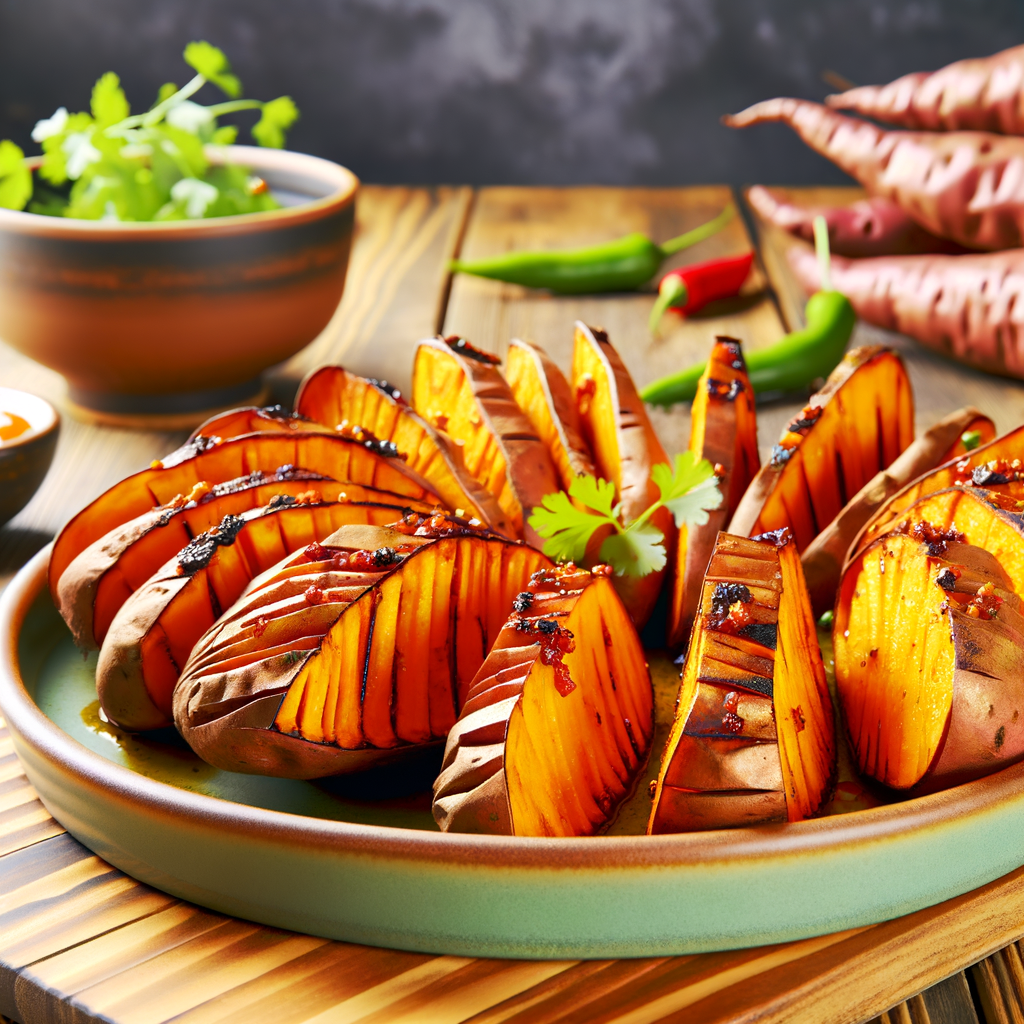
Banana Cue

A beloved street food, Banana Cue uses whole **plantains caramelized in sugar,** creating an irresistible sweetness. By frying them in vegetable oil rather than butter, the vegan version maintains authenticity while adhering to plant-based principles.

Cooking Tips for Vegan Filipinx Dishes

Experiment with Meat Alternatives

Experimenting with ingredients like **tofu, tempeh, mushrooms,** and **seitan** can replicate textures commonly found in meat-based dishes, offering a nutritious twist.

Season Generously

Spices, like **paprika and turmeric**, can add vibrant color, while seasoning with spices and herbs is key to achieving the complex flavors typical of Filipinx culinary traditions.

Explore Sweet and Salty Combos

Filipinx dishes often thrive on the delicate balance between sweet and savory flavors. Incorporating ingredients such as **coconut sugar** or **agave nectar** can enhance the dishes without compromising vegan ethics.

Conclusion: A Celebration of Culture and Sustainability

Venturing into vegan Filipinx cuisine is both a celebration of cultural heritage and a commitment to sustainability. It’s an invitation to explore the myriad flavors and textures that define Filipinx cooking while adhering to a plant-based lifestyle. By embracing this fusion of tradition and modern ethics, it’s possible to appreciate culinary delights while advocating for a healthier, more compassionate world. Whether you’re a seasoned vegan or someone exploring new dietary paths, the vibrant world of Vegan Filipinx recipes offers delicious experiences sure to satisfy.

Get our best recipes & expert tips right into your inbox!

Join over 10k subscribers

By submitting above, you agree to our privacy policy.

You might also like

Delicious Homemade Almond Milk Yogurt Recipe Using Instant Pot --- Are you in search of a dairy-free yogurt alternative that's both delicious and healthy? Look no further! With the help of your Instant Pot, you can now create perfectly creamy almond milk yogurt at home. Not only is this homemade version free from additives and preservatives, but it's also incredibly easy to make. Here's a step-by-step guide to get you started on your culinary adventure. ### Ingredients You’ll Need: - 4 cups of unsweetened almond milk - 1-2 tablespoons of agar-agar or gelatin (for thickening) - 2 tablespoons of probiotic yogurt starter or dairy-free yogurt - 1-2 tablespoons of maple syrup or honey (optional) ### Equipment: - Instant Pot with yogurt setting - Whisk - Instant Pot-compatible glass jars (optional but recommended) ### Step-by-Step Instructions: #### 1. Prepare the Almond Milk Mixture Firstly, pour the unsweetened almond milk into your Instant Pot. If you’re using agar-agar or gelatin, sprinkle it into the almond milk. Whisk the mixture thoroughly to ensure that the thickening agent is well-dissolved. This step is crucial for getting the right yogurt consistency. #### 2. Heat the Mixture Set your Instant Pot to the 'Saute' setting to heat the almond milk mixture. Stir frequently to prevent the milk from scorching. Heat until the mixture reaches approximately 185°F (85°C). This process helps to break down proteins and ensure consistency. #### 3. Cool the Mixture Turn off the Instant Pot and allow the almond milk mixture to cool down to about 110°F (43°C). You can speed up this process by placing the inner pot in a cold water bath. Use a thermometer to check the temperature - this is important as adding the yogurt starter to a mixture that's too hot can kill the beneficial bacteria. #### 4. Add the Yogurt Starter Once the mixture cooled to the appropriate temperature, add the probiotic yogurt starter or dairy-free yogurt. Whisk thoroughly to ensure the starter is evenly distributed. Adding sweetener at this stage is optional but can enhance the flavor of your yogurt. #### 5. Incubate the Yogurt Select the 'Yogurt' setting on your Instant Pot. Secure the lid (no need to seal, as pressure is not required) and set the time for 8-12 hours. Longer incubation results in tangier yogurt. You can use Instant Pot-compatible glass jars at this stage for convenient storage later. #### 6. Chill and Enjoy Once the incubation period is complete, carefully transfer the yogurt into glass containers and refrigerate for at least 4 hours. This chilling period helps the yogurt to set properly. ### Tips for Perfect Homemade Almond Milk Yogurt: - Use unsweetened almond milk for best results. - Ensure your Instant Pot and utensils are thoroughly clean to avoid contamination. - Experiment with different incubation times to find your perfect tanginess level. ### Conclusion Making almond milk yogurt at home using an Instant Pot is a rewarding and straightforward process. This dairy-free delight is perfect for those with dietary restrictions or anyone looking to enjoy a healthier yogurt alternative. Give it a try, and you might never go back to store-bought yogurt again. Happy yogurt-making!

Delicious Homemade Almond Milk Yogurt Recipe Using Instant Pot — Are you in search of a dairy-free yogurt alternative that’s both delicious and healthy? Look no further! With the help of your Instant Pot, you can now create perfectly creamy almond milk yogurt at home. Not only is this homemade version free from additives and preservatives, but it’s also incredibly easy to make. Here’s a step-by-step guide to get you started on your culinary adventure. ### Ingredients You’ll Need: – 4 cups of unsweetened almond milk – 1-2 tablespoons of agar-agar or gelatin (for thickening) – 2 tablespoons of probiotic yogurt starter or dairy-free yogurt – 1-2 tablespoons of maple syrup or honey (optional) ### Equipment: – Instant Pot with yogurt setting – Whisk – Instant Pot-compatible glass jars (optional but recommended) ### Step-by-Step Instructions: #### 1. Prepare the Almond Milk Mixture Firstly, pour the unsweetened almond milk into your Instant Pot. If you’re using agar-agar or gelatin, sprinkle it into the almond milk. Whisk the mixture thoroughly to ensure that the thickening agent is well-dissolved. This step is crucial for getting the right yogurt consistency. #### 2. Heat the Mixture Set your Instant Pot to the ‘Saute’ setting to heat the almond milk mixture. Stir frequently to prevent the milk from scorching. Heat until the mixture reaches approximately 185°F (85°C). This process helps to break down proteins and ensure consistency. #### 3. Cool the Mixture Turn off the Instant Pot and allow the almond milk mixture to cool down to about 110°F (43°C). You can speed up this process by placing the inner pot in a cold water bath. Use a thermometer to check the temperature – this is important as adding the yogurt starter to a mixture that’s too hot can kill the beneficial bacteria. #### 4. Add the Yogurt Starter Once the mixture cooled to the appropriate temperature, add the probiotic yogurt starter or dairy-free yogurt. Whisk thoroughly to ensure the starter is evenly distributed. Adding sweetener at this stage is optional but can enhance the flavor of your yogurt. #### 5. Incubate the Yogurt Select the ‘Yogurt’ setting on your Instant Pot. Secure the lid (no need to seal, as pressure is not required) and set the time for 8-12 hours. Longer incubation results in tangier yogurt. You can use Instant Pot-compatible glass jars at this stage for convenient storage later. #### 6. Chill and Enjoy Once the incubation period is complete, carefully transfer the yogurt into glass containers and refrigerate for at least 4 hours. This chilling period helps the yogurt to set properly. ### Tips for Perfect Homemade Almond Milk Yogurt: – Use unsweetened almond milk for best results. – Ensure your Instant Pot and utensils are thoroughly clean to avoid contamination. – Experiment with different incubation times to find your perfect tanginess level. ### Conclusion Making almond milk yogurt at home using an Instant Pot is a rewarding and straightforward process. This dairy-free delight is perfect for those with dietary restrictions or anyone looking to enjoy a healthier yogurt alternative. Give it a try, and you might never go back to store-bought yogurt again. Happy yogurt-making!