Search

Delicious and Healthy Plant-Based Summer Squash Recipe Ideas

Sensational Plant-Based Summer Squash Recipes

Summer squash is a versatile and nutrient-packed vegetable, making it the perfect ingredient for a variety of plant-based dishes. Whether you’re looking for a light salad, a hearty main dish, or a delightful side, summer squash can be the star of your culinary creations. In this article, we’ll explore sensational plant-based summer squash recipes that will elevate your meals and delight your taste buds.

Why Choose Plant-Based Summer Squash Recipes?

Summer squash is not only delicious but also packed with essential vitamins and minerals. It’s low in calories and high in antioxidants, making it an excellent choice for a healthy diet. Here are some benefits of incorporating summer squash into your meals:
– Rich in vitamins such as vitamin A, C, and B6.
– High in minerals like magnesium, potassium, and manganese.
– Low in calories and high in dietary fiber, promoting weight management and digestion.

Delicious Plant-Based Summer Squash Recipes

Let’s dive into some mouth-watering recipes that highlight the versatility and flavor of summer squash.

1. Grilled Summer Squash with Garlic Herb Marinade

Grilling brings out the natural sweetness and enhances the flavors of summer squash. This recipe uses a garlic herb marinade to give the squash a delicious and aromatic twist.

Ingredients:

  • 2 medium summer squashes, sliced into rounds
  • 2 tablespoons olive oil
  • 3 cloves garlic, minced
  • 1 teaspoon dried oregano
  • 1 teaspoon dried basil
  • Salt and pepper to taste
  • Instructions:
    1. In a bowl, whisk together olive oil, minced garlic, oregano, and basil.
    2. Toss the sliced summer squash in the marinade, ensuring each piece is coated.
    3. Preheat the grill to medium-high heat.
    4. Grill the squash for 3-4 minutes on each side until they are tender and have grill marks.
    5. Season with salt and pepper and serve hot.

    2. Summer Squash and Tomato Salad

    This refreshing salad combines the crispness of summer squash with the juiciness of tomatoes for a perfect summer dish.

    Ingredients:

  • 1 medium summer squash, thinly sliced
  • 1 cup cherry tomatoes, halved
  • 1/4 cup red onion, thinly sliced
  • 2 tablespoons lemon juice
  • 2 tablespoons olive oil
  • 1 tablespoon fresh basil, chopped
  • Salt and pepper to taste
  • Instructions:
    1. In a large bowl, combine the summer squash, cherry tomatoes, and red onion.
    2. In a small bowl, whisk together the lemon juice, olive oil, and chopped basil.
    3. Pour the dressing over the salad and toss to combine.
    4. Season with salt and pepper to taste and serve immediately.

    3. Stuffed Summer Squash Boats

    These stuffed squash boats are a fun and creative way to enjoy summer squash. Filled with a flavorful mixture of quinoa and vegetables, they make a satisfying plant-based meal.

    Ingredients:

  • 4 summer squashes, halved lengthwise
  • 1 cup cooked quinoa
  • 1 cup diced bell pepper
  • 1/2 cup corn kernels
  • 1/2 cup black beans, rinsed and drained
  • 2 tablespoons olive oil
  • 1 teaspoon cumin
  • 1 teaspoon chili powder
  • Salt and pepper to taste
  • Instructions:
    1. Preheat the oven to 375°F (190°C).
    2. Scoop out the centers of the summer squash halves, creating “boats.” Set the scooped flesh aside.
    3. In a skillet, heat the olive oil over medium heat. Add the diced bell pepper, corn, and scooped squash flesh. Cook until tender.
    4. Stir in the cooked quinoa, black beans, cumin, and chili powder. Season with salt and pepper.
    5. Spoon the mixture into the squash boats and place them on a baking sheet.
    6. Bake for 20-25 minutes, until the squash is tender and the filling is heated through.
    7. Serve warm.

    Tips for Cooking with Summer Squash

    To get the most out of your summer squash dishes, here are some useful tips:
    – Select squash that is firm and free of blemishes.
    – Store squash in the refrigerator and use it within a week for best flavor and texture.
    – Don’t overcook squash to retain its nutrients and crispness. Aim for tender-crisp textures.
    – Experiment with different herbs and spices to find your favorite flavor profiles that complement summer squash.

    Conclusion

    Incorporating summer squash into your plant-based recipes is a fantastic way to enjoy nutritious, flavorful, and versatile dishes. From grilled squash to refreshing salads and stuffed squash boats, there’s a wide array of recipes that can cater to different tastes and preferences. Try these sensational summer squash recipes and add a delightful and healthy twist to your meals this season!


    Get our best recipes & expert tips right into your inbox!

    Join over 10k subscribers

    By submitting above, you agree to our privacy policy.

    You might also like

    Ultimate Veggie Burger Recipe with 21 Delicious Ingredients --- Are you searching for the ultimate veggie burger to elevate your home-cooking game? Look no further! Whether you're a seasoned vegetarian or simply exploring plant-based options, a recipe has emerged that might just become your new favorite: a flavorful veggie burger crafted with 21 distinct ingredients. ### The Perfect Blend of Flavors To create a veggie burger that stands out from the rest, it’s essential to combine a variety of ingredients that bring depth and richness. Here’s a sneak peek into what makes this recipe so special: - **Beans and Vegetables**: The heart of this burger is a blend of black beans and roasted vegetables, providing a hearty and wholesome base. - **Herbs and Spices**: A mix of spices including cumin, chili powder, and smoked paprika infuses the patties with layers of flavor. - **Binding Agents**: Ingredients like bread crumbs and eggs ensure the burger holds together perfectly without falling apart. - **Toppings**: Don't forget the delicious toppings such as lettuce, tomato, avocado, and a zesty sauce to finish it off. ### Step-by-Step Preparation Creating this ultimate veggie burger involves several steps to ensure each ingredient shines. Here’s a quick rundown: 1. **Prep the Ingredients**: Start by roasting vegetables and cooking black beans. Chop them finely afterward to ensure even texture. 2. **Mix the Patties**: Combine the beans, roasted vegetables, spices, and binding agents in a large bowl. Mix everything well but don’t overdo it—you want a mixture that's combined yet retains some texture. 3. **Shape and Refrigerate**: Form the mixture into patties and let them chill in the refrigerator. This helps them firm up and makes cooking easier. 4. **Cook to Perfection**: Grill or pan-fry the patties until they are crispy on the outside yet tender inside. 5. **Assemble the Burgers**: Place the cooked patties on buns and top with fresh lettuce, ripe tomato slices, creamy avocado, and a dollop of your favorite sauce. ### Why This Recipe Stands Out This recipe isn’t just about packing in as many ingredients as possible; it’s about the thoughtful combination that results in an unforgettable taste. By incorporating a wide variety of ingredients, this veggie burger offers a complex flavor profile and texture that will impress even the most discerning palates. ### Conclusion The ultimate veggie burger is achievable with the right blend of ingredients and a few easy steps. Try this flavorful recipe, and you might just find yourself ditching meat-based burgers for good. Enhance your culinary repertoire and delight your taste buds with this phenomenal plant-based burger! For a detailed, step-by-step guide and the complete list of ingredients, visit the full recipe [here](https://vegnews.com/recipes/guy-fieris-veggie-burgers).

    Ultimate Veggie Burger Recipe with 21 Delicious Ingredients — Are you searching for the ultimate veggie burger to elevate your home-cooking game? Look no further! Whether you’re a seasoned vegetarian or simply exploring plant-based options, a recipe has emerged that might just become your new favorite: a flavorful veggie burger crafted with 21 distinct ingredients. ### The Perfect Blend of Flavors To create a veggie burger that stands out from the rest, it’s essential to combine a variety of ingredients that bring depth and richness. Here’s a sneak peek into what makes this recipe so special: – **Beans and Vegetables**: The heart of this burger is a blend of black beans and roasted vegetables, providing a hearty and wholesome base. – **Herbs and Spices**: A mix of spices including cumin, chili powder, and smoked paprika infuses the patties with layers of flavor. – **Binding Agents**: Ingredients like bread crumbs and eggs ensure the burger holds together perfectly without falling apart. – **Toppings**: Don’t forget the delicious toppings such as lettuce, tomato, avocado, and a zesty sauce to finish it off. ### Step-by-Step Preparation Creating this ultimate veggie burger involves several steps to ensure each ingredient shines. Here’s a quick rundown: 1. **Prep the Ingredients**: Start by roasting vegetables and cooking black beans. Chop them finely afterward to ensure even texture. 2. **Mix the Patties**: Combine the beans, roasted vegetables, spices, and binding agents in a large bowl. Mix everything well but don’t overdo it—you want a mixture that’s combined yet retains some texture. 3. **Shape and Refrigerate**: Form the mixture into patties and let them chill in the refrigerator. This helps them firm up and makes cooking easier. 4. **Cook to Perfection**: Grill or pan-fry the patties until they are crispy on the outside yet tender inside. 5. **Assemble the Burgers**: Place the cooked patties on buns and top with fresh lettuce, ripe tomato slices, creamy avocado, and a dollop of your favorite sauce. ### Why This Recipe Stands Out This recipe isn’t just about packing in as many ingredients as possible; it’s about the thoughtful combination that results in an unforgettable taste. By incorporating a wide variety of ingredients, this veggie burger offers a complex flavor profile and texture that will impress even the most discerning palates. ### Conclusion The ultimate veggie burger is achievable with the right blend of ingredients and a few easy steps. Try this flavorful recipe, and you might just find yourself ditching meat-based burgers for good. Enhance your culinary repertoire and delight your taste buds with this phenomenal plant-based burger! For a detailed, step-by-step guide and the complete list of ingredients, visit the full recipe [here](https://vegnews.com/recipes/guy-fieris-veggie-burgers).

    Delicious Homemade Almond Milk Yogurt Recipe Using Instant Pot --- Are you in search of a dairy-free yogurt alternative that's both delicious and healthy? Look no further! With the help of your Instant Pot, you can now create perfectly creamy almond milk yogurt at home. Not only is this homemade version free from additives and preservatives, but it's also incredibly easy to make. Here's a step-by-step guide to get you started on your culinary adventure. ### Ingredients You’ll Need: - 4 cups of unsweetened almond milk - 1-2 tablespoons of agar-agar or gelatin (for thickening) - 2 tablespoons of probiotic yogurt starter or dairy-free yogurt - 1-2 tablespoons of maple syrup or honey (optional) ### Equipment: - Instant Pot with yogurt setting - Whisk - Instant Pot-compatible glass jars (optional but recommended) ### Step-by-Step Instructions: #### 1. Prepare the Almond Milk Mixture Firstly, pour the unsweetened almond milk into your Instant Pot. If you’re using agar-agar or gelatin, sprinkle it into the almond milk. Whisk the mixture thoroughly to ensure that the thickening agent is well-dissolved. This step is crucial for getting the right yogurt consistency. #### 2. Heat the Mixture Set your Instant Pot to the 'Saute' setting to heat the almond milk mixture. Stir frequently to prevent the milk from scorching. Heat until the mixture reaches approximately 185°F (85°C). This process helps to break down proteins and ensure consistency. #### 3. Cool the Mixture Turn off the Instant Pot and allow the almond milk mixture to cool down to about 110°F (43°C). You can speed up this process by placing the inner pot in a cold water bath. Use a thermometer to check the temperature - this is important as adding the yogurt starter to a mixture that's too hot can kill the beneficial bacteria. #### 4. Add the Yogurt Starter Once the mixture cooled to the appropriate temperature, add the probiotic yogurt starter or dairy-free yogurt. Whisk thoroughly to ensure the starter is evenly distributed. Adding sweetener at this stage is optional but can enhance the flavor of your yogurt. #### 5. Incubate the Yogurt Select the 'Yogurt' setting on your Instant Pot. Secure the lid (no need to seal, as pressure is not required) and set the time for 8-12 hours. Longer incubation results in tangier yogurt. You can use Instant Pot-compatible glass jars at this stage for convenient storage later. #### 6. Chill and Enjoy Once the incubation period is complete, carefully transfer the yogurt into glass containers and refrigerate for at least 4 hours. This chilling period helps the yogurt to set properly. ### Tips for Perfect Homemade Almond Milk Yogurt: - Use unsweetened almond milk for best results. - Ensure your Instant Pot and utensils are thoroughly clean to avoid contamination. - Experiment with different incubation times to find your perfect tanginess level. ### Conclusion Making almond milk yogurt at home using an Instant Pot is a rewarding and straightforward process. This dairy-free delight is perfect for those with dietary restrictions or anyone looking to enjoy a healthier yogurt alternative. Give it a try, and you might never go back to store-bought yogurt again. Happy yogurt-making!

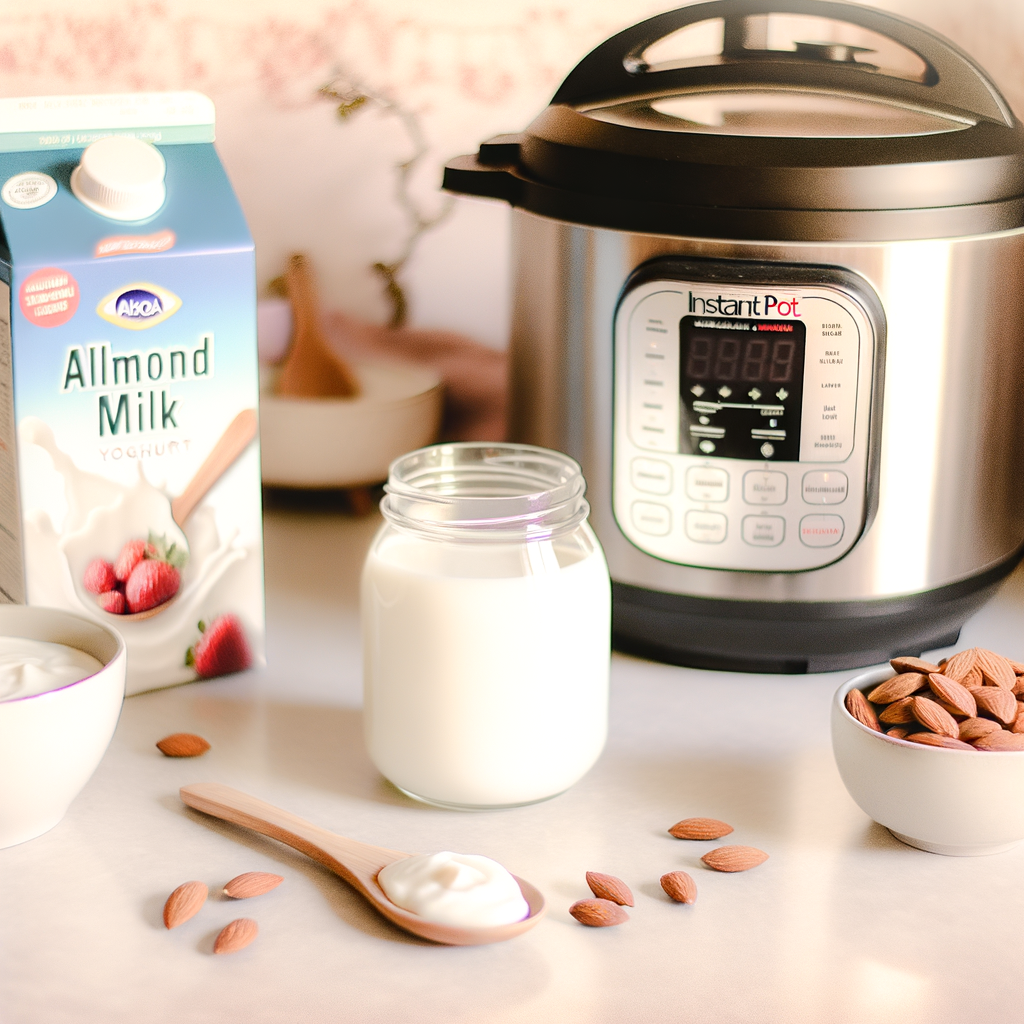
    Delicious Homemade Almond Milk Yogurt Recipe Using Instant Pot — Are you in search of a dairy-free yogurt alternative that’s both delicious and healthy? Look no further! With the help of your Instant Pot, you can now create perfectly creamy almond milk yogurt at home. Not only is this homemade version free from additives and preservatives, but it’s also incredibly easy to make. Here’s a step-by-step guide to get you started on your culinary adventure. ### Ingredients You’ll Need: – 4 cups of unsweetened almond milk – 1-2 tablespoons of agar-agar or gelatin (for thickening) – 2 tablespoons of probiotic yogurt starter or dairy-free yogurt – 1-2 tablespoons of maple syrup or honey (optional) ### Equipment: – Instant Pot with yogurt setting – Whisk – Instant Pot-compatible glass jars (optional but recommended) ### Step-by-Step Instructions: #### 1. Prepare the Almond Milk Mixture Firstly, pour the unsweetened almond milk into your Instant Pot. If you’re using agar-agar or gelatin, sprinkle it into the almond milk. Whisk the mixture thoroughly to ensure that the thickening agent is well-dissolved. This step is crucial for getting the right yogurt consistency. #### 2. Heat the Mixture Set your Instant Pot to the ‘Saute’ setting to heat the almond milk mixture. Stir frequently to prevent the milk from scorching. Heat until the mixture reaches approximately 185°F (85°C). This process helps to break down proteins and ensure consistency. #### 3. Cool the Mixture Turn off the Instant Pot and allow the almond milk mixture to cool down to about 110°F (43°C). You can speed up this process by placing the inner pot in a cold water bath. Use a thermometer to check the temperature – this is important as adding the yogurt starter to a mixture that’s too hot can kill the beneficial bacteria. #### 4. Add the Yogurt Starter Once the mixture cooled to the appropriate temperature, add the probiotic yogurt starter or dairy-free yogurt. Whisk thoroughly to ensure the starter is evenly distributed. Adding sweetener at this stage is optional but can enhance the flavor of your yogurt. #### 5. Incubate the Yogurt Select the ‘Yogurt’ setting on your Instant Pot. Secure the lid (no need to seal, as pressure is not required) and set the time for 8-12 hours. Longer incubation results in tangier yogurt. You can use Instant Pot-compatible glass jars at this stage for convenient storage later. #### 6. Chill and Enjoy Once the incubation period is complete, carefully transfer the yogurt into glass containers and refrigerate for at least 4 hours. This chilling period helps the yogurt to set properly. ### Tips for Perfect Homemade Almond Milk Yogurt: – Use unsweetened almond milk for best results. – Ensure your Instant Pot and utensils are thoroughly clean to avoid contamination. – Experiment with different incubation times to find your perfect tanginess level. ### Conclusion Making almond milk yogurt at home using an Instant Pot is a rewarding and straightforward process. This dairy-free delight is perfect for those with dietary restrictions or anyone looking to enjoy a healthier yogurt alternative. Give it a try, and you might never go back to store-bought yogurt again. Happy yogurt-making!