Search

Delicious No-Bake Vegan and Gluten-Free Chocolate Chip Granola Bars Recipe

No-Bake Vegan Chocolate Chip Granola Bars

Introduction to Vegan Granola Bars

Granola bars are a versatile and delicious snack that are perfect for any time of the day. Whether you’re grabbing a quick breakfast on your way out the door, looking for a midday snack, or want something sweet and satisfying after dinner, granola bars fit the bill. Best of all, you don’t have to turn on the oven or stove to make them. These no-bake vegan chocolate chip granola bars are a delightful treat that will please both vegans and non-vegans alike.

Why Choose No-Bake Vegan Granola Bars?

Health Benefits

No-bake vegan granola bars are packed with healthy ingredients. They often include things like oats, nuts, seeds, and dried fruit, all of which are excellent sources of fiber, vitamins, and minerals. Making them at home means you can avoid the added sugars and preservatives found in many store-bought versions.

Convenience

The no-bake aspect cannot be overstated, making these bars a breeze to prepare. You can whip up a batch without the need for an oven, making them a fantastic option for those hot summer days when you’re trying to keep your kitchen cool.

Customization

Making your own granola bars means you can customize them to your liking. Whether you prefer more chocolate chips, additional nuts, or extra dried fruit, the choice is yours. This flexibility ensures that your bars will always suit your taste preferences.

Ingredients You’ll Need

Creating these delectable bars only requires a handful of ingredients. Here’s a basic list to get you started:

  • Rolled oats
  • Peanut butter or almond butter
  • Maple syrup or agave nectar
  • Vanilla extract
  • Vegan chocolate chips
  • Nuts and seeds (optional)
  • Dried fruit (optional)

Optional Add-Ons

  • Coconut flakes
  • Chia seeds or flax seeds
  • Cinnamon or other spices

Step-by-Step Guide to Making No-Bake Vegan Chocolate Chip Granola Bars

Step 1: Prepare Your Ingredients

Start by measuring out all of your ingredients. Having everything ready to go will make the process much smoother.

Step 2: Mix the Wet Ingredients

In a large mixing bowl, combine the peanut butter (or almond butter), maple syrup (or agave nectar), and vanilla extract. Stir until they are well combined.

Step 3: Combine the Dry Ingredients

In a separate bowl, combine the rolled oats, vegan chocolate chips, and any additional nuts, seeds, or dried fruit you want to include. Mix well to ensure that everything is evenly distributed.

Step 4: Mix Everything Together

Pour the dry ingredients into the bowl with the wet ingredients. Use a spatula or large spoon to mix everything together until the oats and add-ins are fully coated with the peanut butter mixture.

Step 5: Press into a Pan

Line a baking dish with parchment paper, making sure to leave enough overhang to easily lift the bars out later. Pour the mixture into the prepared dish and use the back of a spoon or a spatula to press it down firmly and evenly.

Step 6: Chill

Place the dish in the refrigerator for at least 2 hours. This will allow the bars to firm up and make them easier to cut. Once they are fully chilled, lift the bars out of the dish using the parchment paper, and cut them into your desired size and shape.

Storage and Serving Suggestions

Storage Tips

Store these no-bake vegan chocolate chip granola bars in an airtight container in the refrigerator. They will keep for up to 2 weeks, but chances are they’ll be gone long before that!

Serving Ideas

These bars are perfect as an on-the-go snack, but they can also be enjoyed in a variety of other ways:

  • Pair with a cup of coffee or tea for a delightful breakfast treat.
  • Crumble over a bowl of vegan yogurt for a crunchy topping.
  • Enjoy as an afternoon snack with a piece of fruit.
  • Include in a packed lunch for a nutritious dessert.

Why These Bars Are a Must-Try

Kid-Friendly Option

These granola bars are a fantastic option for kids. The sweetness from the vegan chocolate chips and maple syrup makes them a hit with little ones, while the oats and nuts provide a good dose of nutrition to keep them energized throughout the day.

Eco-Friendly Choice

By opting to make your own snacks, you’re reducing the need for individually packaged granola bars, which often come with a lot of unnecessary plastic.

Perfect for Meal Prep

These bars are an excellent addition to any meal prep routine. They’re quick and easy to make, store well, and can be enjoyed at any time.

Make It Your Own

Once you’ve mastered the basic recipe, feel free to get creative! You can add a variety of different flavors and textures to keep things interesting. Here are a few suggestions to get you started:

  • Add spices like cinnamon, nutmeg, or even a pinch of cayenne for some extra warmth and complexity.
  • Experiment with different nut butters: cashew butter, sunflower seed butter, or even a mix of your favorites.
  • Incorporate superfoods: mix in some chia seeds, hemp hearts, or cacao nibs for an extra nutritional boost.

Conclusion

No-bake vegan chocolate chip granola bars are a delicious, nutritious, and convenient snack that you’ll want to make again and again. They’re easy to customize, require minimal ingredients, and come together with no need for an oven. Whether you’re looking for a quick breakfast, an afternoon snack, or a treat to satisfy your sweet tooth, these bars are sure to hit the spot.

Now it’s your turn to get started! Gather your ingredients, follow these simple steps, and enjoy the deliciously rewarding process of making your own no-bake vegan chocolate chip granola bars.

Get our best recipes & expert tips right into your inbox!

Join over 10k subscribers

By submitting above, you agree to our privacy policy.

You might also like

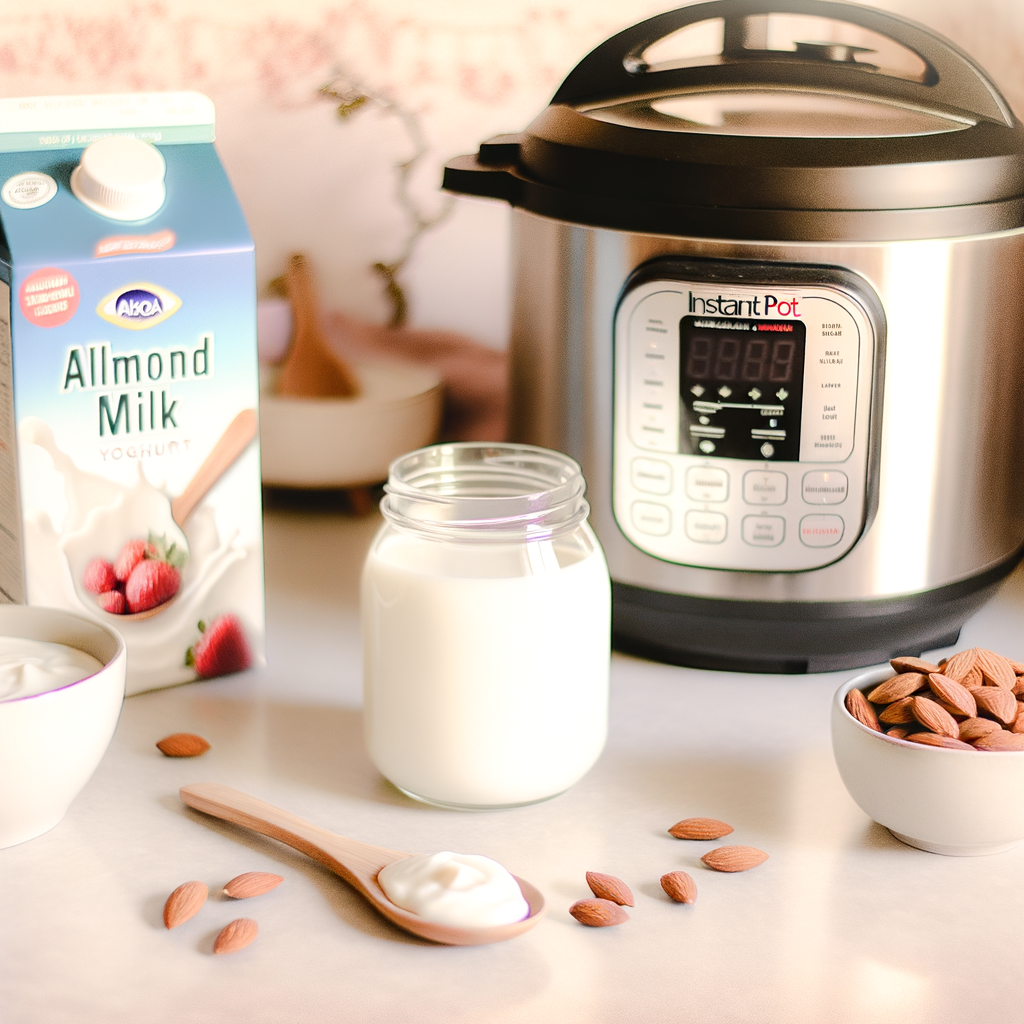
Delicious Homemade Almond Milk Yogurt Recipe Using Instant Pot --- Are you in search of a dairy-free yogurt alternative that's both delicious and healthy? Look no further! With the help of your Instant Pot, you can now create perfectly creamy almond milk yogurt at home. Not only is this homemade version free from additives and preservatives, but it's also incredibly easy to make. Here's a step-by-step guide to get you started on your culinary adventure. ### Ingredients You’ll Need: - 4 cups of unsweetened almond milk - 1-2 tablespoons of agar-agar or gelatin (for thickening) - 2 tablespoons of probiotic yogurt starter or dairy-free yogurt - 1-2 tablespoons of maple syrup or honey (optional) ### Equipment: - Instant Pot with yogurt setting - Whisk - Instant Pot-compatible glass jars (optional but recommended) ### Step-by-Step Instructions: #### 1. Prepare the Almond Milk Mixture Firstly, pour the unsweetened almond milk into your Instant Pot. If you’re using agar-agar or gelatin, sprinkle it into the almond milk. Whisk the mixture thoroughly to ensure that the thickening agent is well-dissolved. This step is crucial for getting the right yogurt consistency. #### 2. Heat the Mixture Set your Instant Pot to the 'Saute' setting to heat the almond milk mixture. Stir frequently to prevent the milk from scorching. Heat until the mixture reaches approximately 185°F (85°C). This process helps to break down proteins and ensure consistency. #### 3. Cool the Mixture Turn off the Instant Pot and allow the almond milk mixture to cool down to about 110°F (43°C). You can speed up this process by placing the inner pot in a cold water bath. Use a thermometer to check the temperature - this is important as adding the yogurt starter to a mixture that's too hot can kill the beneficial bacteria. #### 4. Add the Yogurt Starter Once the mixture cooled to the appropriate temperature, add the probiotic yogurt starter or dairy-free yogurt. Whisk thoroughly to ensure the starter is evenly distributed. Adding sweetener at this stage is optional but can enhance the flavor of your yogurt. #### 5. Incubate the Yogurt Select the 'Yogurt' setting on your Instant Pot. Secure the lid (no need to seal, as pressure is not required) and set the time for 8-12 hours. Longer incubation results in tangier yogurt. You can use Instant Pot-compatible glass jars at this stage for convenient storage later. #### 6. Chill and Enjoy Once the incubation period is complete, carefully transfer the yogurt into glass containers and refrigerate for at least 4 hours. This chilling period helps the yogurt to set properly. ### Tips for Perfect Homemade Almond Milk Yogurt: - Use unsweetened almond milk for best results. - Ensure your Instant Pot and utensils are thoroughly clean to avoid contamination. - Experiment with different incubation times to find your perfect tanginess level. ### Conclusion Making almond milk yogurt at home using an Instant Pot is a rewarding and straightforward process. This dairy-free delight is perfect for those with dietary restrictions or anyone looking to enjoy a healthier yogurt alternative. Give it a try, and you might never go back to store-bought yogurt again. Happy yogurt-making!

Delicious Homemade Almond Milk Yogurt Recipe Using Instant Pot — Are you in search of a dairy-free yogurt alternative that’s both delicious and healthy? Look no further! With the help of your Instant Pot, you can now create perfectly creamy almond milk yogurt at home. Not only is this homemade version free from additives and preservatives, but it’s also incredibly easy to make. Here’s a step-by-step guide to get you started on your culinary adventure. ### Ingredients You’ll Need: – 4 cups of unsweetened almond milk – 1-2 tablespoons of agar-agar or gelatin (for thickening) – 2 tablespoons of probiotic yogurt starter or dairy-free yogurt – 1-2 tablespoons of maple syrup or honey (optional) ### Equipment: – Instant Pot with yogurt setting – Whisk – Instant Pot-compatible glass jars (optional but recommended) ### Step-by-Step Instructions: #### 1. Prepare the Almond Milk Mixture Firstly, pour the unsweetened almond milk into your Instant Pot. If you’re using agar-agar or gelatin, sprinkle it into the almond milk. Whisk the mixture thoroughly to ensure that the thickening agent is well-dissolved. This step is crucial for getting the right yogurt consistency. #### 2. Heat the Mixture Set your Instant Pot to the ‘Saute’ setting to heat the almond milk mixture. Stir frequently to prevent the milk from scorching. Heat until the mixture reaches approximately 185°F (85°C). This process helps to break down proteins and ensure consistency. #### 3. Cool the Mixture Turn off the Instant Pot and allow the almond milk mixture to cool down to about 110°F (43°C). You can speed up this process by placing the inner pot in a cold water bath. Use a thermometer to check the temperature – this is important as adding the yogurt starter to a mixture that’s too hot can kill the beneficial bacteria. #### 4. Add the Yogurt Starter Once the mixture cooled to the appropriate temperature, add the probiotic yogurt starter or dairy-free yogurt. Whisk thoroughly to ensure the starter is evenly distributed. Adding sweetener at this stage is optional but can enhance the flavor of your yogurt. #### 5. Incubate the Yogurt Select the ‘Yogurt’ setting on your Instant Pot. Secure the lid (no need to seal, as pressure is not required) and set the time for 8-12 hours. Longer incubation results in tangier yogurt. You can use Instant Pot-compatible glass jars at this stage for convenient storage later. #### 6. Chill and Enjoy Once the incubation period is complete, carefully transfer the yogurt into glass containers and refrigerate for at least 4 hours. This chilling period helps the yogurt to set properly. ### Tips for Perfect Homemade Almond Milk Yogurt: – Use unsweetened almond milk for best results. – Ensure your Instant Pot and utensils are thoroughly clean to avoid contamination. – Experiment with different incubation times to find your perfect tanginess level. ### Conclusion Making almond milk yogurt at home using an Instant Pot is a rewarding and straightforward process. This dairy-free delight is perfect for those with dietary restrictions or anyone looking to enjoy a healthier yogurt alternative. Give it a try, and you might never go back to store-bought yogurt again. Happy yogurt-making!