Search

Delicious Vegan Buttermilk Fried Oyster Mushrooms Recipe


How to Make Buttermilk Fried Oyster Mushrooms: A Crispy Vegan Delight

Introduction

Looking for a mouthwatering, crispy, and savory dish that is entirely plant-based? Look no further! Buttermilk fried oyster mushrooms offer the perfect blend of crunchy exterior and tender mushrooms inside. These mushrooms are not only delicious, but they also serve as a fantastic vegan alternative to traditional fried chicken. With their natural umami flavor and chewy texture, oyster mushrooms are an excellent choice for this recipe. Follow along to learn how to make this delightful dish that will impress even the most devoted meat-eaters.

Ingredients

Gathering the right ingredients is crucial for achieving the perfect buttermilk fried oyster mushrooms. Here’s what you’ll need:

  • For the Buttermilk Marinade:
    • 1 cup of unsweetened plant-based milk (such as almond or soy milk)
    • 1 tablespoon of apple cider vinegar
    • 1 teaspoon of salt
  • For the Mushrooms:
    • 1 lb of oyster mushrooms, cleaned and separated into individual pieces
    • 1 cup of all-purpose flour
    • 1 teaspoon of garlic powder
    • 1 teaspoon of onion powder
    • 1 teaspoon of smoked paprika
    • 1/2 teaspoon of black pepper
    • 1/2 teaspoon of cayenne pepper (optional, for a bit of heat)
    • 1/2 teaspoon of dried thyme
    • 1/2 teaspoon of dried oregano
    • 1 teaspoon of salt
    • 3/4 cup of panko breadcrumbs
    • Oil for frying (such as vegetable or canola oil)

Preparation Steps

Follow these steps to prepare the perfect buttermilk fried oyster mushrooms:

1. Creating the Buttermilk Marinade

  • In a mixing bowl, combine the unsweetened plant-based milk and apple cider vinegar. Stir well.
  • Let the mixture sit for 5-10 minutes until it thickens, creating a buttermilk-like consistency.
  • Add the salt, then mix again.

2. Preparing the Mushroom Coating

  • In another mixing bowl, combine the all-purpose flour, garlic powder, onion powder, smoked paprika, black pepper, cayenne pepper (if using), dried thyme, dried oregano, and salt. Mix thoroughly to ensure all spices are evenly distributed.
  • In a separate bowl, place the panko breadcrumbs.

3. Marinating the Mushrooms

  • Dip each oyster mushroom piece into the buttermilk marinade, ensuring it is fully coated.
  • Allow the mushrooms to soak for at least 10-15 minutes to absorb the flavors.

4. Coating the Mushrooms

  • Remove a marinated mushroom from the buttermilk and let any excess drip off.
  • Roll the mushroom in the seasoned flour mixture, pressing lightly to adhere.
  • Next, dip the coated mushroom back into the buttermilk marinade briefly.
  • Finally, roll the mushroom in the panko breadcrumbs for an extra crispy coating.
  • Repeat this process for all mushroom pieces.

Cooking Instructions

It’s time to fry these mouthwatering mushrooms! Follow these steps:

1. Heating the Oil

  • In a large skillet, pour enough oil to cover the bottom, about 1 inch deep.
  • Heat the oil over medium-high heat until it reaches around 350°F (175°C). You can test the oil by dropping a small piece of batter into it; it should sizzle and float to the top.

2. Frying the Mushrooms

  • Carefully place a few coated mushrooms into the hot oil, making sure not to overcrowd the skillet.
  • Fry the mushrooms for approximately 3-4 minutes on each side or until golden brown and crispy.
  • Using a slotted spoon or tongs, transfer the fried mushrooms to a plate lined with paper towels to drain any excess oil.
  • Repeat the frying process with the remaining mushrooms.

Serving Suggestions

The buttermilk fried oyster mushrooms are incredibly versatile and can be paired with various sides and dips. Here are some serving suggestions:

  • Sides:
    • Serve with homemade coleslaw for a refreshing contrast.
    • Pair with mashed potatoes or sweet potato fries for a comforting meal.
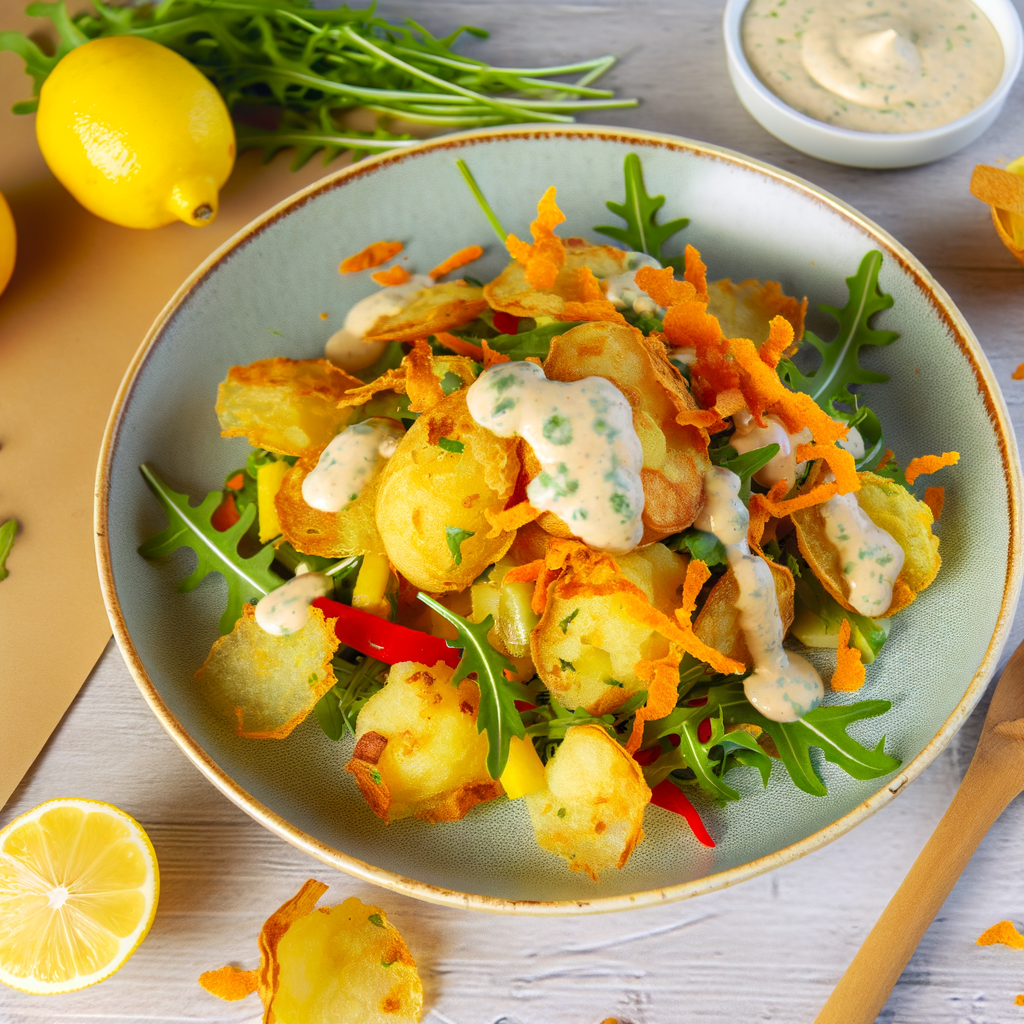
    • Complement with a side salad to add some greens to your plate.
  • Dips:
    • Enjoy with a tangy vegan ranch or aioli sauce.
    • Dip in spicy sriracha mayo for a kick.
    • Try with BBQ sauce for a smoky flavor.

Conclusion

The buttermilk fried oyster mushrooms are not only a fantastic vegan alternative to traditional fried chicken, but they are also packed with flavor and texture. The blend of spices in the coating and the crispy panko breadcrumbs make these mushrooms irresistible. Whether you’re serving them as a main dish or a delicious appetizer, they are sure to be a hit at any meal. Enjoy your culinary creation and bask in the compliments from your delighted diners!


Get our best recipes & expert tips right into your inbox!

Join over 10k subscribers

By submitting above, you agree to our privacy policy.

You might also like

Delicious Homemade Almond Milk Yogurt Recipe Using Instant Pot --- Are you in search of a dairy-free yogurt alternative that's both delicious and healthy? Look no further! With the help of your Instant Pot, you can now create perfectly creamy almond milk yogurt at home. Not only is this homemade version free from additives and preservatives, but it's also incredibly easy to make. Here's a step-by-step guide to get you started on your culinary adventure. ### Ingredients You’ll Need: - 4 cups of unsweetened almond milk - 1-2 tablespoons of agar-agar or gelatin (for thickening) - 2 tablespoons of probiotic yogurt starter or dairy-free yogurt - 1-2 tablespoons of maple syrup or honey (optional) ### Equipment: - Instant Pot with yogurt setting - Whisk - Instant Pot-compatible glass jars (optional but recommended) ### Step-by-Step Instructions: #### 1. Prepare the Almond Milk Mixture Firstly, pour the unsweetened almond milk into your Instant Pot. If you’re using agar-agar or gelatin, sprinkle it into the almond milk. Whisk the mixture thoroughly to ensure that the thickening agent is well-dissolved. This step is crucial for getting the right yogurt consistency. #### 2. Heat the Mixture Set your Instant Pot to the 'Saute' setting to heat the almond milk mixture. Stir frequently to prevent the milk from scorching. Heat until the mixture reaches approximately 185°F (85°C). This process helps to break down proteins and ensure consistency. #### 3. Cool the Mixture Turn off the Instant Pot and allow the almond milk mixture to cool down to about 110°F (43°C). You can speed up this process by placing the inner pot in a cold water bath. Use a thermometer to check the temperature - this is important as adding the yogurt starter to a mixture that's too hot can kill the beneficial bacteria. #### 4. Add the Yogurt Starter Once the mixture cooled to the appropriate temperature, add the probiotic yogurt starter or dairy-free yogurt. Whisk thoroughly to ensure the starter is evenly distributed. Adding sweetener at this stage is optional but can enhance the flavor of your yogurt. #### 5. Incubate the Yogurt Select the 'Yogurt' setting on your Instant Pot. Secure the lid (no need to seal, as pressure is not required) and set the time for 8-12 hours. Longer incubation results in tangier yogurt. You can use Instant Pot-compatible glass jars at this stage for convenient storage later. #### 6. Chill and Enjoy Once the incubation period is complete, carefully transfer the yogurt into glass containers and refrigerate for at least 4 hours. This chilling period helps the yogurt to set properly. ### Tips for Perfect Homemade Almond Milk Yogurt: - Use unsweetened almond milk for best results. - Ensure your Instant Pot and utensils are thoroughly clean to avoid contamination. - Experiment with different incubation times to find your perfect tanginess level. ### Conclusion Making almond milk yogurt at home using an Instant Pot is a rewarding and straightforward process. This dairy-free delight is perfect for those with dietary restrictions or anyone looking to enjoy a healthier yogurt alternative. Give it a try, and you might never go back to store-bought yogurt again. Happy yogurt-making!

Delicious Homemade Almond Milk Yogurt Recipe Using Instant Pot — Are you in search of a dairy-free yogurt alternative that’s both delicious and healthy? Look no further! With the help of your Instant Pot, you can now create perfectly creamy almond milk yogurt at home. Not only is this homemade version free from additives and preservatives, but it’s also incredibly easy to make. Here’s a step-by-step guide to get you started on your culinary adventure. ### Ingredients You’ll Need: – 4 cups of unsweetened almond milk – 1-2 tablespoons of agar-agar or gelatin (for thickening) – 2 tablespoons of probiotic yogurt starter or dairy-free yogurt – 1-2 tablespoons of maple syrup or honey (optional) ### Equipment: – Instant Pot with yogurt setting – Whisk – Instant Pot-compatible glass jars (optional but recommended) ### Step-by-Step Instructions: #### 1. Prepare the Almond Milk Mixture Firstly, pour the unsweetened almond milk into your Instant Pot. If you’re using agar-agar or gelatin, sprinkle it into the almond milk. Whisk the mixture thoroughly to ensure that the thickening agent is well-dissolved. This step is crucial for getting the right yogurt consistency. #### 2. Heat the Mixture Set your Instant Pot to the ‘Saute’ setting to heat the almond milk mixture. Stir frequently to prevent the milk from scorching. Heat until the mixture reaches approximately 185°F (85°C). This process helps to break down proteins and ensure consistency. #### 3. Cool the Mixture Turn off the Instant Pot and allow the almond milk mixture to cool down to about 110°F (43°C). You can speed up this process by placing the inner pot in a cold water bath. Use a thermometer to check the temperature – this is important as adding the yogurt starter to a mixture that’s too hot can kill the beneficial bacteria. #### 4. Add the Yogurt Starter Once the mixture cooled to the appropriate temperature, add the probiotic yogurt starter or dairy-free yogurt. Whisk thoroughly to ensure the starter is evenly distributed. Adding sweetener at this stage is optional but can enhance the flavor of your yogurt. #### 5. Incubate the Yogurt Select the ‘Yogurt’ setting on your Instant Pot. Secure the lid (no need to seal, as pressure is not required) and set the time for 8-12 hours. Longer incubation results in tangier yogurt. You can use Instant Pot-compatible glass jars at this stage for convenient storage later. #### 6. Chill and Enjoy Once the incubation period is complete, carefully transfer the yogurt into glass containers and refrigerate for at least 4 hours. This chilling period helps the yogurt to set properly. ### Tips for Perfect Homemade Almond Milk Yogurt: – Use unsweetened almond milk for best results. – Ensure your Instant Pot and utensils are thoroughly clean to avoid contamination. – Experiment with different incubation times to find your perfect tanginess level. ### Conclusion Making almond milk yogurt at home using an Instant Pot is a rewarding and straightforward process. This dairy-free delight is perfect for those with dietary restrictions or anyone looking to enjoy a healthier yogurt alternative. Give it a try, and you might never go back to store-bought yogurt again. Happy yogurt-making!