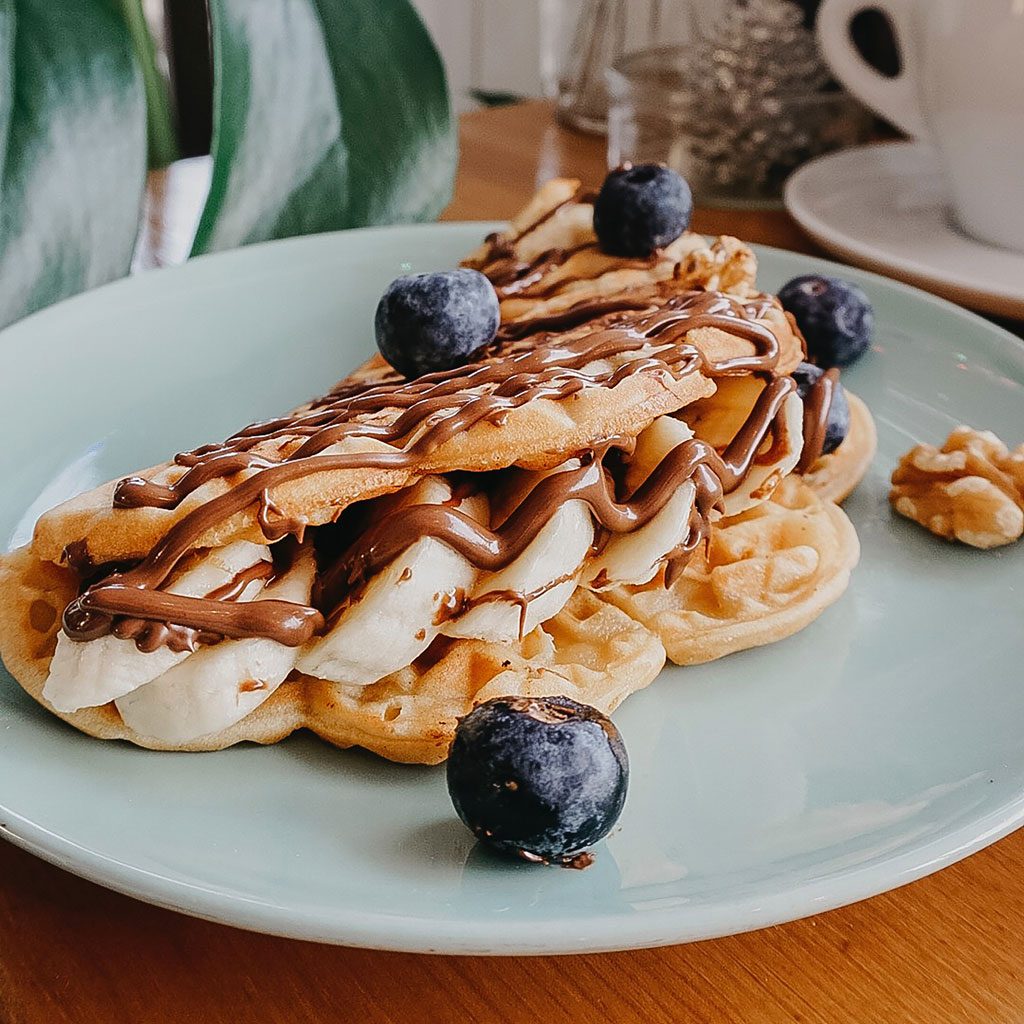
Delicious Vegan and Gluten-Free Waffles: Easy Recipe and Tips
Nothing beats the joy of starting your day with a crispy yet fluffy waffle, especially when they are both vegan and gluten-free. Whether you’re aiming for a healthier lifestyle or managing food allergies, these vegan and gluten-free waffles are a perfect choice! This recipe is simple to follow and requires just a few ingredients that you likely already have in your kitchen. Below, we’ll delve into the recipe, useful tips, and some common variations to help you create the best waffles ever!
Why Choose Vegan and Gluten-Free Waffles?
Opting for vegan and gluten-free waffles brings multiple health benefits and aligns with a compassionate lifestyle. Here are a few compelling reasons why you should add this delicious recipe to your breakfast repertoire:
* Health Benefits: Gluten-free diets can help manage celiac disease, gluten sensitivity, and other autoimmune conditions. Vegan diets are known for their ability to reduce the risk of chronic diseases, such as heart disease and diabetes.
* Ethical Reasons: Choosing vegan options promotes animal welfare and reduces the environmental impact of food production.
* Allergen-Friendly: These waffles are perfect for people with dairy, egg, and gluten allergies, enabling more inclusive eating experiences.
Ingredients Needed for Vegan and Gluten-Free Waffles
The beauty of this recipe lies in its simplicity and versatility. You only need basic pantry staples to whip up a batch of these scrumptious vegan and gluten-free waffles. Here are the ingredients:
- 1 cup gluten-free all-purpose flour
- 1 tablespoon baking powder
- 1 tablespoon sugar (optional, for a hint of sweetness)
- A pinch of salt
- 1 cup plant-based milk (almond, soy, oat, or any preferred option)
- 1 tablespoon apple cider vinegar or lemon juice (to curdle the milk)
- 2 tablespoons vegetable oil or melted coconut oil
- 1 teaspoon vanilla extract (optional, for added flavor)
Step-by-Step Recipe for Perfect Waffles
Follow these simple steps to make your vegan and gluten-free waffles:
1. Prepare the Batter
* In a small bowl, combine the plant-based milk and apple cider vinegar (or lemon juice). Let it sit for 5-10 minutes until it curdles.
* In a large mixing bowl, whisk together the gluten-free all-purpose flour, baking powder, sugar, and salt.
* Add the curdled plant-based milk, oil, and vanilla extract (if using) to the dry ingredients. Mix until the batter is smooth and well combined. Avoid overmixing as it can affect the texture of the waffles.
2. Preheat and Grease the Waffle Maker
* Preheat your waffle maker according to the manufacturer’s instructions. A good preheating ensures your waffles cook evenly and attain that desirable crispy exterior.
* Lightly grease the waffle plates with a non-stick cooking spray or a bit of oil to prevent sticking.
3. Cook the Waffles
* Pour an appropriate amount of batter (usually around 1/2 cup, depending on your waffle maker) onto the center of the preheated waffle iron.
* Close the lid and cook until the waffles are golden brown and crispy, typically for about 5-7 minutes. Cooking times may vary, so keep an eye on them.
4. Serve and Enjoy
* Carefully remove the waffles using a spatula. Place them on a wire rack to keep them crisp while you cook the remaining batter.
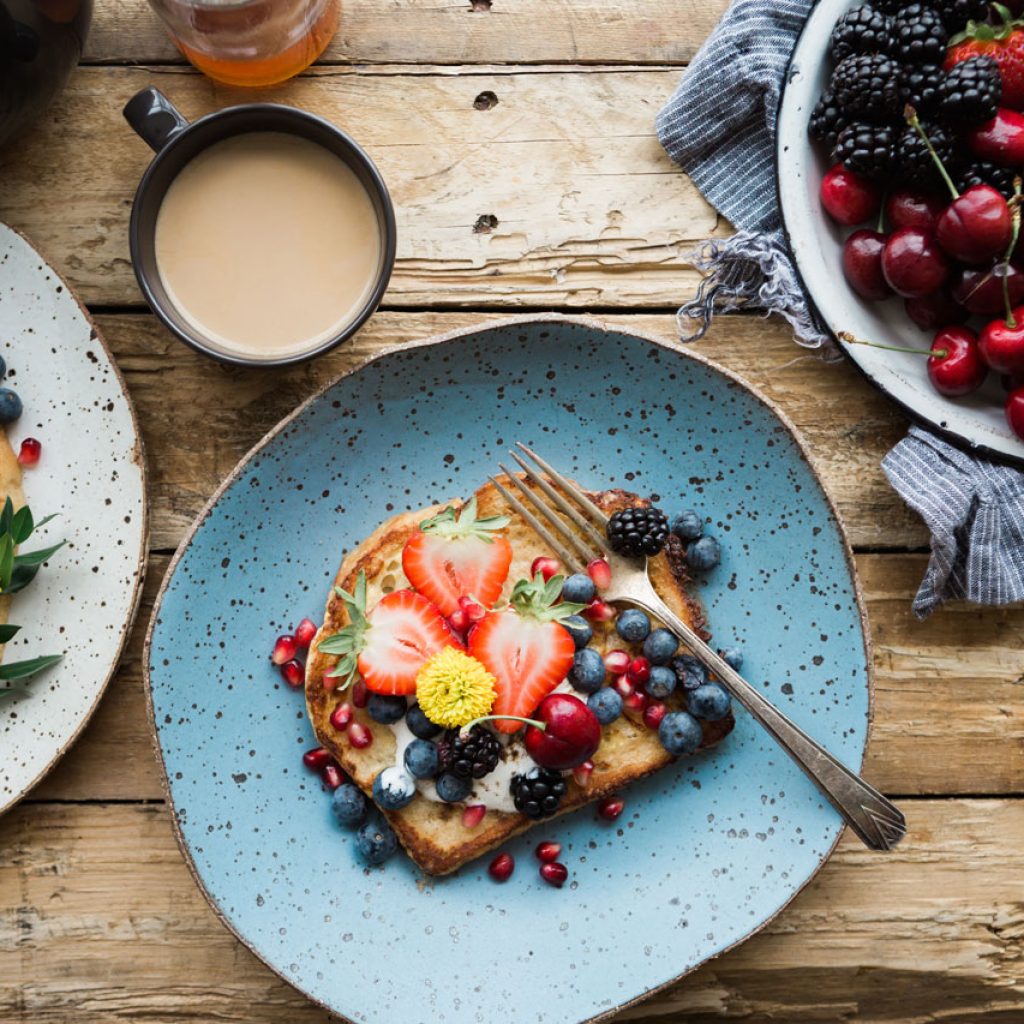
* Serve the waffles warm with your favorite toppings such as fresh fruits, maple syrup, vegan butter, or whipped coconut cream.
Troubleshooting Common Waffle Issues
Every cook knows that perfection often requires a bit of trial and error. Here are some tips to overcome common waffle-making pitfalls:
1. Waffles Are Sticking to the Waffle Maker
* Ensure you preheat and grease your waffle iron thoroughly before adding the batter.
* If sticking persists, try adding a touch more oil to your batter.
2. Waffles Are Too Soft or Soggy
* Make sure to cook the waffles long enough to become crispy. If they display a pale brown color, they likely need more time.
* Place cooked waffles on a wire rack instead of stacking them to maintain crispiness.
3. Waffles Aren’t Fluffy
* Don’t overmix the batter. Overmixing can result in denser waffles.
* Ensure your baking powder is fresh and active for maximum rising power.
Variations and Add-Ins
Once you’ve mastered the basic waffle recipe, you can start experimenting with flavors and textures by incorporating various add-ins and toppings:
- Mix in fruits like blueberries, mashed bananas, or chopped apples for a fruity twist.
- Add spices such as cinnamon, nutmeg, or pumpkin pie spice for enhanced flavor.
- Throw in a handful of dairy-free chocolate chips or nuts for an extra crunch.
- Consider savory options by adding herbs, vegan cheese, or sautéed vegetables to the batter.
Storing and Reheating Waffles
If you have any leftovers, here’s how to store and reheat them to maintain their deliciousness:
* Storing: Let the waffles cool completely before storing them in an airtight container or plastic wrap. They can be kept in the refrigerator for up to 3 days or frozen for up to a month.
* Reheating: To reheat, pop the waffles in a toaster or toaster oven until they are warmed through and crispy. Avoid using a microwave as it can make them soggy.
Conclusion
These vegan and gluten-free waffles are a game-changer for breakfast or brunch. They’re easy to make, incredibly delicious, and offer endless customization possibilities. Now that you have the recipe, tips, and troubleshooting advice, you can confidently dive into making these delightful waffles. Make sure to share your creations with family and friends, spreading the joy of a tasty, allergen-friendly meal. Enjoy!

