Search

Easy and Delicious Grilled Tofu Recipe for Vegans

Deliciously Easy Grilled Tofu Recipe That’s Vegan-Friendly

### Introduction

Grilled tofu is a fantastic dish that can please any crowd, whether you’re a vegan, vegetarian, or just looking to add more plant-based meals to your diet. Not only is tofu a great source of protein, but it also absorbs flavors beautifully, making it an ideal ingredient for grilling. This recipe is not just vegan-friendly; it’s also easy to prepare, versatile, and incredibly delicious.

### The Benefits of Tofu

#### Nutritional Value

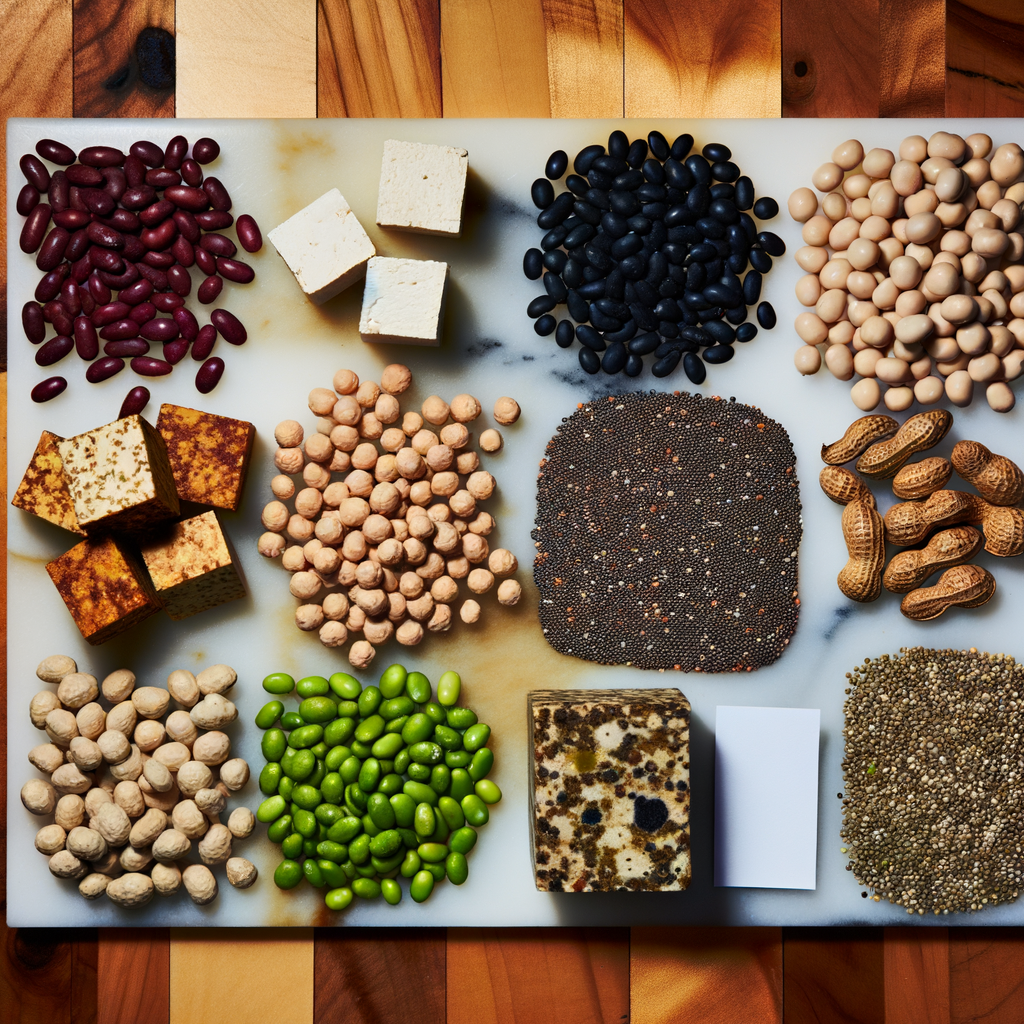
Tofu, made from soybeans, is incredibly nutrient-dense. It is a great source of:

  • Protein: Essential for muscle growth and repair
  • Calcium: Important for bone health
  • Iron: Vital for transporting oxygen in the blood
  • Isoflavones: Compounds that have antioxidant properties
  • #### Versatility in Cooking

    One of the main benefits of tofu is how adaptable it is in various dishes. Grilling enhances its texture and allows it to absorb the smoky flavors from the grill, making it a perfect centerpiece or side for any meal.

    ### Ingredients

    To make this vegan-friendly grilled tofu, you will need the following ingredients:

  • 1 block of extra-firm tofu
  • 2 tablespoons olive oil
  • 3 tablespoons soy sauce
  • 1 tablespoon maple syrup
  • 1 teaspoon garlic powder
  • 1 teaspoon smoked paprika
  • Salt and pepper to taste
  • ### Preparing the Tofu

    #### Selecting the Right Tofu

    For grilling, it’s essential to use extra-firm tofu as it holds its shape best when cooking. Regular or silken tofu will not work well for this recipe.

    #### Pressing the Tofu

    Before grilling, you must press the tofu to remove excess moisture, which helps it absorb the marinade better and results in a firmer texture.

    1. Remove the tofu from its packaging and drain any liquid.
    2. Wrap the tofu block in a clean kitchen towel.
    3. Place a heavy object, like a book or skillet, on top to press out the moisture. Let it sit for at least 30 minutes.

    ### Marinade Preparation

    The marinade is the key to flavorful grilled tofu.

    1. In a bowl, whisk together the olive oil, soy sauce, maple syrup, garlic powder, and smoked paprika.
    2. Add salt and pepper to taste.

    ### Marinating the Tofu

    After pressing the tofu, it’s time to marinate.

    1. Cut the tofu block into slices or cubes, depending on your preference.
    2. Place the tofu pieces in a shallow dish and pour the marinade over them, ensuring each piece is well-coated.
    3. Let the tofu marinate for at least 30 minutes, or for better flavor absorption, let it sit for a few hours in the refrigerator.

    ### Grilling the Tofu

    #### Preheating the Grill

    Preheat your grill to medium-high heat. Make sure the grates are clean and lightly oiled to prevent sticking.

    #### Grilling Process

    1. Place the marinated tofu pieces on the grill.
    2. Grill for about 5-7 minutes on each side, or until they develop nice grill marks and are heated through.
    3. Baste with extra marinade or olive oil if needed to keep the tofu moist and flavorful.

    ### Serving Suggestions

    Grilled tofu is incredibly versatile and can be served in numerous ways. Here are a few ideas:

    #### As a Main Dish

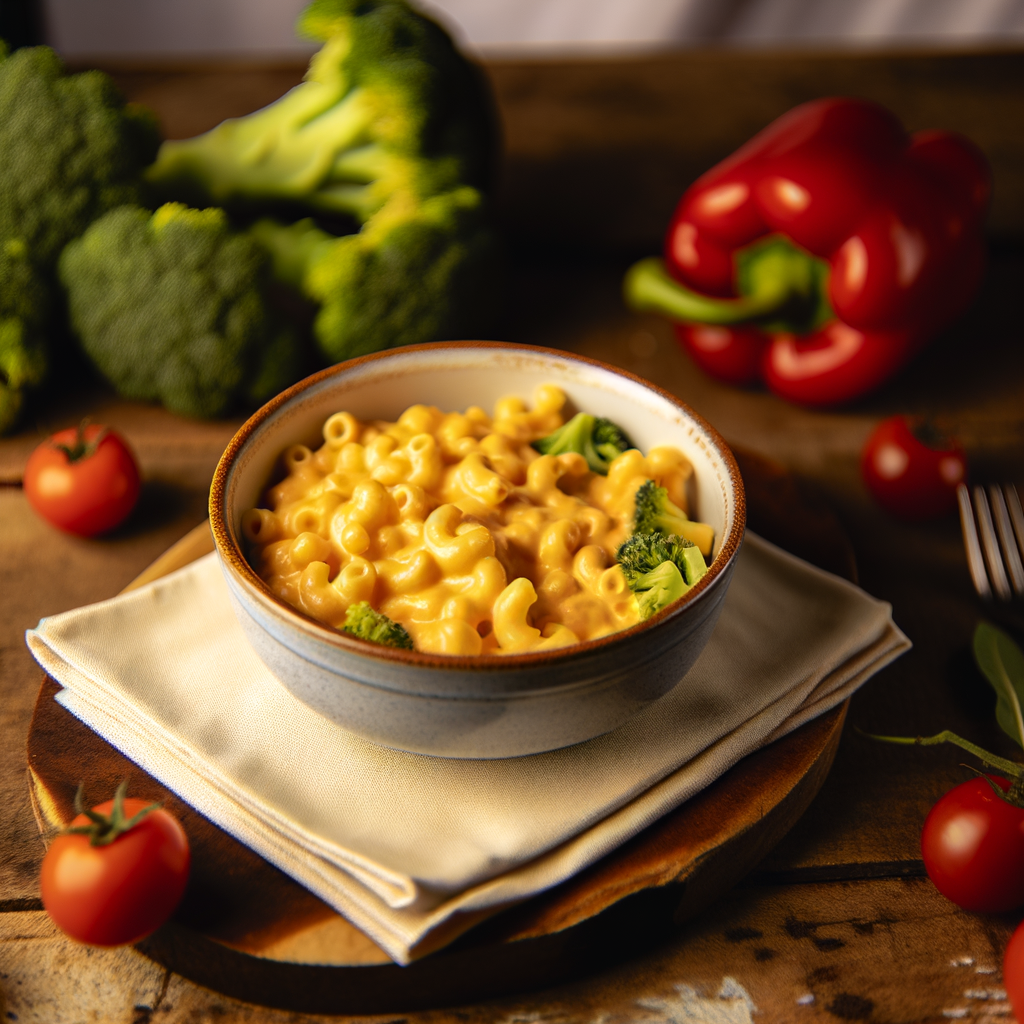
    Serve the grilled tofu with a side of grilled vegetables, quinoa, or a fresh salad. You can create a balanced, nutrient-rich meal this way.

    #### In a Sandwich

    Place grilled tofu slices in a whole grain bun with vegan mayonnaise, lettuce, and tomato for a delicious vegan sandwich.

    #### As a Salad Topper

    Dice the grilled tofu and add it to a mixed green salad with your favorite vegetables and a tangy vinaigrette dressing.

    ### Storing Leftovers

    Grilled tofu can be stored in the refrigerator for up to 5 days. Place the tofu in an airtight container to maintain its freshness. Reheat on the grill or a skillet before serving.

    ### Tips for Perfect Grilled Tofu

    1. **Don’t skip pressing the tofu:** It’s crucial for texture.
    2. **Experiment with marinades:** Tofu is a blank canvas and can take on various flavors.
    3. **Watch the grill temperature:** Too hot, and the tofu might burn; too low, and it won’t get the nice grill marks.

    ### Conclusion

    Grilled tofu is a delicious, versatile, and vegan-friendly dish that is easy to prepare and packed with flavor. Whether you are grilling for a weeknight dinner or a weekend barbecue, this recipe is sure to impress. Try it out and enjoy the benefits of a plant-based meal that doesn’t compromise on taste or nutrition.

    Get our best recipes & expert tips right into your inbox!

    Join over 10k subscribers

    By submitting above, you agree to our privacy policy.

    You might also like

    Delicious Homemade Almond Milk Yogurt Recipe Using Instant Pot --- Are you in search of a dairy-free yogurt alternative that's both delicious and healthy? Look no further! With the help of your Instant Pot, you can now create perfectly creamy almond milk yogurt at home. Not only is this homemade version free from additives and preservatives, but it's also incredibly easy to make. Here's a step-by-step guide to get you started on your culinary adventure. ### Ingredients You’ll Need: - 4 cups of unsweetened almond milk - 1-2 tablespoons of agar-agar or gelatin (for thickening) - 2 tablespoons of probiotic yogurt starter or dairy-free yogurt - 1-2 tablespoons of maple syrup or honey (optional) ### Equipment: - Instant Pot with yogurt setting - Whisk - Instant Pot-compatible glass jars (optional but recommended) ### Step-by-Step Instructions: #### 1. Prepare the Almond Milk Mixture Firstly, pour the unsweetened almond milk into your Instant Pot. If you’re using agar-agar or gelatin, sprinkle it into the almond milk. Whisk the mixture thoroughly to ensure that the thickening agent is well-dissolved. This step is crucial for getting the right yogurt consistency. #### 2. Heat the Mixture Set your Instant Pot to the 'Saute' setting to heat the almond milk mixture. Stir frequently to prevent the milk from scorching. Heat until the mixture reaches approximately 185°F (85°C). This process helps to break down proteins and ensure consistency. #### 3. Cool the Mixture Turn off the Instant Pot and allow the almond milk mixture to cool down to about 110°F (43°C). You can speed up this process by placing the inner pot in a cold water bath. Use a thermometer to check the temperature - this is important as adding the yogurt starter to a mixture that's too hot can kill the beneficial bacteria. #### 4. Add the Yogurt Starter Once the mixture cooled to the appropriate temperature, add the probiotic yogurt starter or dairy-free yogurt. Whisk thoroughly to ensure the starter is evenly distributed. Adding sweetener at this stage is optional but can enhance the flavor of your yogurt. #### 5. Incubate the Yogurt Select the 'Yogurt' setting on your Instant Pot. Secure the lid (no need to seal, as pressure is not required) and set the time for 8-12 hours. Longer incubation results in tangier yogurt. You can use Instant Pot-compatible glass jars at this stage for convenient storage later. #### 6. Chill and Enjoy Once the incubation period is complete, carefully transfer the yogurt into glass containers and refrigerate for at least 4 hours. This chilling period helps the yogurt to set properly. ### Tips for Perfect Homemade Almond Milk Yogurt: - Use unsweetened almond milk for best results. - Ensure your Instant Pot and utensils are thoroughly clean to avoid contamination. - Experiment with different incubation times to find your perfect tanginess level. ### Conclusion Making almond milk yogurt at home using an Instant Pot is a rewarding and straightforward process. This dairy-free delight is perfect for those with dietary restrictions or anyone looking to enjoy a healthier yogurt alternative. Give it a try, and you might never go back to store-bought yogurt again. Happy yogurt-making!

    Delicious Homemade Almond Milk Yogurt Recipe Using Instant Pot — Are you in search of a dairy-free yogurt alternative that’s both delicious and healthy? Look no further! With the help of your Instant Pot, you can now create perfectly creamy almond milk yogurt at home. Not only is this homemade version free from additives and preservatives, but it’s also incredibly easy to make. Here’s a step-by-step guide to get you started on your culinary adventure. ### Ingredients You’ll Need: – 4 cups of unsweetened almond milk – 1-2 tablespoons of agar-agar or gelatin (for thickening) – 2 tablespoons of probiotic yogurt starter or dairy-free yogurt – 1-2 tablespoons of maple syrup or honey (optional) ### Equipment: – Instant Pot with yogurt setting – Whisk – Instant Pot-compatible glass jars (optional but recommended) ### Step-by-Step Instructions: #### 1. Prepare the Almond Milk Mixture Firstly, pour the unsweetened almond milk into your Instant Pot. If you’re using agar-agar or gelatin, sprinkle it into the almond milk. Whisk the mixture thoroughly to ensure that the thickening agent is well-dissolved. This step is crucial for getting the right yogurt consistency. #### 2. Heat the Mixture Set your Instant Pot to the ‘Saute’ setting to heat the almond milk mixture. Stir frequently to prevent the milk from scorching. Heat until the mixture reaches approximately 185°F (85°C). This process helps to break down proteins and ensure consistency. #### 3. Cool the Mixture Turn off the Instant Pot and allow the almond milk mixture to cool down to about 110°F (43°C). You can speed up this process by placing the inner pot in a cold water bath. Use a thermometer to check the temperature – this is important as adding the yogurt starter to a mixture that’s too hot can kill the beneficial bacteria. #### 4. Add the Yogurt Starter Once the mixture cooled to the appropriate temperature, add the probiotic yogurt starter or dairy-free yogurt. Whisk thoroughly to ensure the starter is evenly distributed. Adding sweetener at this stage is optional but can enhance the flavor of your yogurt. #### 5. Incubate the Yogurt Select the ‘Yogurt’ setting on your Instant Pot. Secure the lid (no need to seal, as pressure is not required) and set the time for 8-12 hours. Longer incubation results in tangier yogurt. You can use Instant Pot-compatible glass jars at this stage for convenient storage later. #### 6. Chill and Enjoy Once the incubation period is complete, carefully transfer the yogurt into glass containers and refrigerate for at least 4 hours. This chilling period helps the yogurt to set properly. ### Tips for Perfect Homemade Almond Milk Yogurt: – Use unsweetened almond milk for best results. – Ensure your Instant Pot and utensils are thoroughly clean to avoid contamination. – Experiment with different incubation times to find your perfect tanginess level. ### Conclusion Making almond milk yogurt at home using an Instant Pot is a rewarding and straightforward process. This dairy-free delight is perfect for those with dietary restrictions or anyone looking to enjoy a healthier yogurt alternative. Give it a try, and you might never go back to store-bought yogurt again. Happy yogurt-making!