Search

How to Begin Your Journey to a Vegan Lifestyle

Getting Started on Your Vegan Journey

Adopting a vegan lifestyle can seem daunting at first, but with proper guidance and a genuine desire, the transition can be smooth and rewarding. Here’s a comprehensive guide to help you get started on your vegan journey.

Understanding Veganism

Switching to a vegan diet means eliminating all animal products, including meat, dairy, eggs, and honey from your daily meals. The reasons for choosing a vegan lifestyle vary, ranging from health benefits to ethical considerations and environmental impacts.

Health Benefits of Veganism

Eliminating animal products can offer several health benefits, which include:

  • Improved Heart Health: A plant-based diet tends to be lower in saturated fat and cholesterol.
  • Better Weight Management: Vegan diets are often lower in calories, aiding in weight loss.
  • Reduced Risk of Chronic Diseases: A diet rich in fruits and vegetables can lower the risk of certain cancers and diabetes.

Ethical Considerations

Choosing veganism is often driven by ethical beliefs, particularly the desire to avoid contributing to animal cruelty and exploitation. Switching to a plant-based diet supports the welfare of animals and promotes a more humane food system.

Environmental Impact

Animal farming is a significant contributor to environmental degradation. By transitioning to a vegan diet, you can:

  • Reduce your carbon footprint
  • Minimize water usage
  • Reduce deforestation and loss of biodiversity

Transitioning to a Vegan Diet

Start Slow

Instead of going vegan overnight, consider a gradual approach. Start by incorporating more plant-based meals into your diet and slowly eliminate animal products.

Educate Yourself

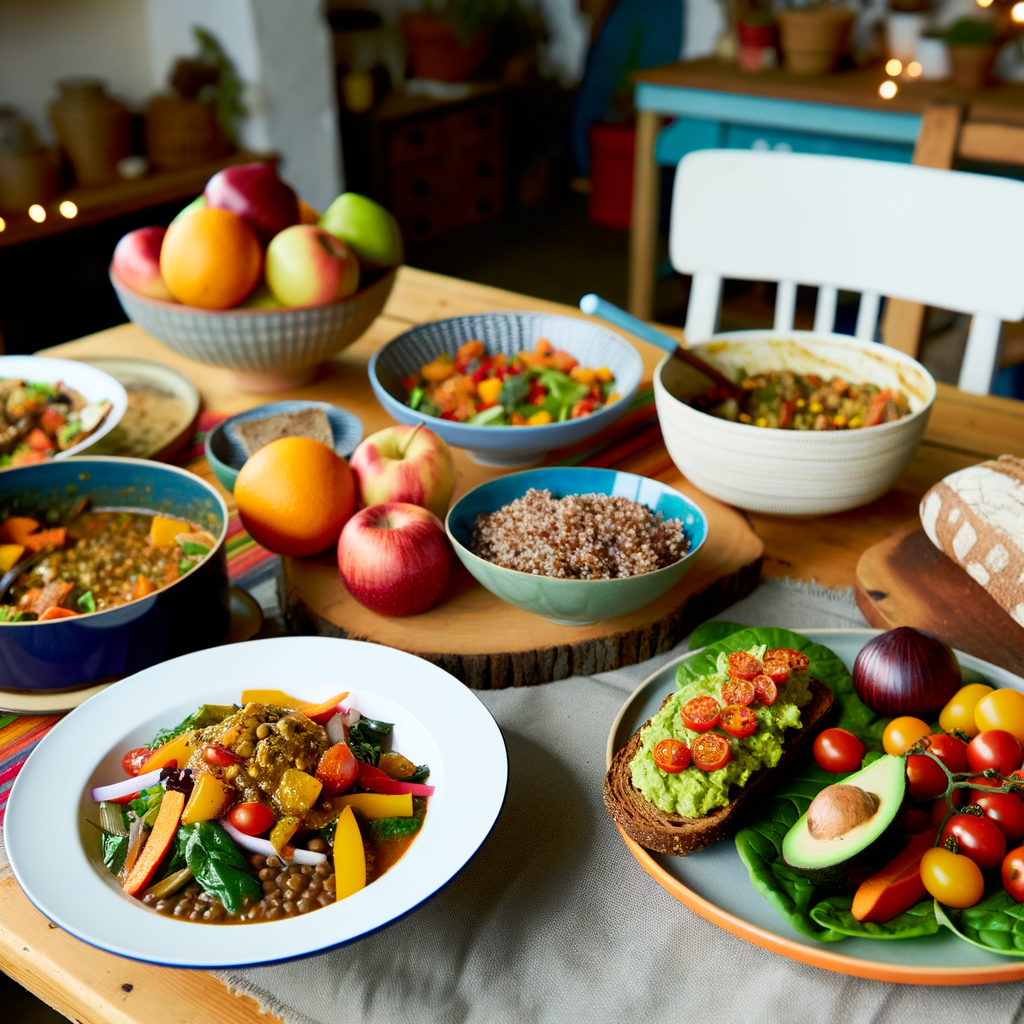
Knowledge is power. Spend time researching vegan nutrition to ensure you’re getting all the necessary nutrients. Focus on vital nutrients such as:

  • Protein: Found in beans, lentils, chickpeas, tofu, and quinoa.
  • Iron: Present in spinach, lentils, chickpeas, and fortified cereals.
  • Vitamin B12: Essential for new vegans; consider fortified products or supplements.
  • Calcium: Opt for fortified plant milks, almonds, and leafy greens.

Navigating Social Situations

Be Prepared

Being vegan in social settings can present challenges. One trick is to always be prepared:

  • Bring your own vegan snacks to gatherings
  • Offer to cook or bring a vegan dish to shared meals
  • Check menus online before dining out

Communicate Your Choices

Explain your dietary choices respectfully when asked. Many people are curious about veganism, and your explanation can be an opportunity to educate others.

Building a Sustainable Vegan Lifestyle

Find Plant-Based Alternatives

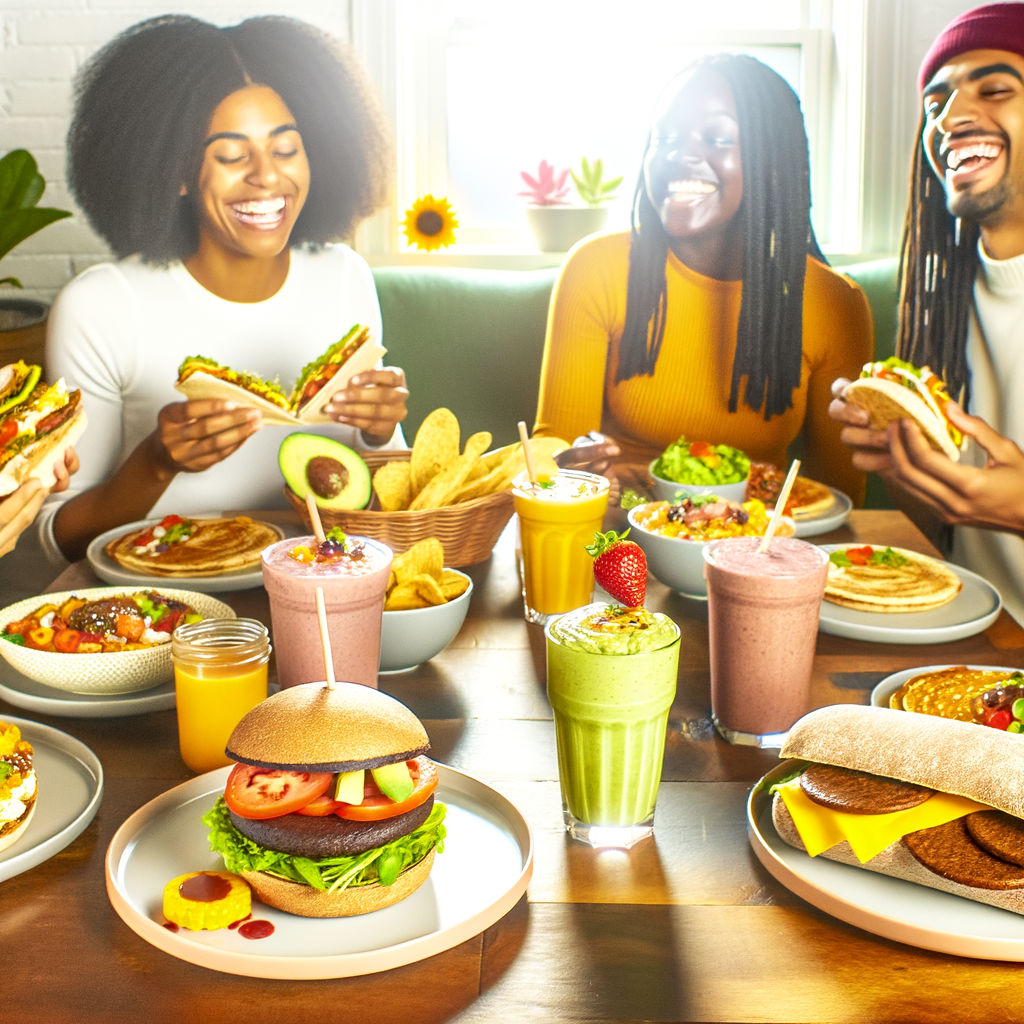
Today’s market offers numerous vegan alternatives that simulate the taste and texture of non-vegan foods. Products like plant-based milks, veggie burgers, and dairy-free cheeses can make the transition easier.

Explore New Recipes

Jumpstart your vegan cooking by exploring new recipes. There are countless vegan cookbooks and websites that cater specifically to plant-based diets. Experiment with new dishes to discover new favorites.

Connect with the Vegan Community

Joining vegan communities can provide support and insightful advice. Online forums, social media groups, and local meet-ups are excellent ways to connect with like-minded individuals.

Common Pitfalls and How to Avoid Them

Unbalanced Diet

A major pitfall is not consuming a well-rounded diet. Ensure you’re eating a wide variety of foods to get all necessary nutrients. Relying heavily on processed vegan foods can lead to nutritional imbalances.

Social Pressure

Facing opposition from friends or family can be tough. Upholding your choices and staying informed can help you handle criticism gracefully.

Vegan Junk Food

Though many unhealthy snacks cater to vegans, it’s essential to focus on whole foods for maintaining health. Limit consumption of processed foods and sugary snacks.

Summary

Embarking on a vegan journey is a significant step towards a healthier, more ethical, and environmentally friendly lifestyle. Starting slow, educating yourself, and connecting with the vegan community can make the transition smoother. By exploring new foods and recipes, preparing for social situations, and maintaining a balanced diet, you can sustain a fulfilling and rewarding vegan lifestyle.

Get our best recipes & expert tips right into your inbox!

Join over 10k subscribers

By submitting above, you agree to our privacy policy.

You might also like

Delicious Homemade Almond Milk Yogurt Recipe Using Instant Pot --- Are you in search of a dairy-free yogurt alternative that's both delicious and healthy? Look no further! With the help of your Instant Pot, you can now create perfectly creamy almond milk yogurt at home. Not only is this homemade version free from additives and preservatives, but it's also incredibly easy to make. Here's a step-by-step guide to get you started on your culinary adventure. ### Ingredients You’ll Need: - 4 cups of unsweetened almond milk - 1-2 tablespoons of agar-agar or gelatin (for thickening) - 2 tablespoons of probiotic yogurt starter or dairy-free yogurt - 1-2 tablespoons of maple syrup or honey (optional) ### Equipment: - Instant Pot with yogurt setting - Whisk - Instant Pot-compatible glass jars (optional but recommended) ### Step-by-Step Instructions: #### 1. Prepare the Almond Milk Mixture Firstly, pour the unsweetened almond milk into your Instant Pot. If you’re using agar-agar or gelatin, sprinkle it into the almond milk. Whisk the mixture thoroughly to ensure that the thickening agent is well-dissolved. This step is crucial for getting the right yogurt consistency. #### 2. Heat the Mixture Set your Instant Pot to the 'Saute' setting to heat the almond milk mixture. Stir frequently to prevent the milk from scorching. Heat until the mixture reaches approximately 185°F (85°C). This process helps to break down proteins and ensure consistency. #### 3. Cool the Mixture Turn off the Instant Pot and allow the almond milk mixture to cool down to about 110°F (43°C). You can speed up this process by placing the inner pot in a cold water bath. Use a thermometer to check the temperature - this is important as adding the yogurt starter to a mixture that's too hot can kill the beneficial bacteria. #### 4. Add the Yogurt Starter Once the mixture cooled to the appropriate temperature, add the probiotic yogurt starter or dairy-free yogurt. Whisk thoroughly to ensure the starter is evenly distributed. Adding sweetener at this stage is optional but can enhance the flavor of your yogurt. #### 5. Incubate the Yogurt Select the 'Yogurt' setting on your Instant Pot. Secure the lid (no need to seal, as pressure is not required) and set the time for 8-12 hours. Longer incubation results in tangier yogurt. You can use Instant Pot-compatible glass jars at this stage for convenient storage later. #### 6. Chill and Enjoy Once the incubation period is complete, carefully transfer the yogurt into glass containers and refrigerate for at least 4 hours. This chilling period helps the yogurt to set properly. ### Tips for Perfect Homemade Almond Milk Yogurt: - Use unsweetened almond milk for best results. - Ensure your Instant Pot and utensils are thoroughly clean to avoid contamination. - Experiment with different incubation times to find your perfect tanginess level. ### Conclusion Making almond milk yogurt at home using an Instant Pot is a rewarding and straightforward process. This dairy-free delight is perfect for those with dietary restrictions or anyone looking to enjoy a healthier yogurt alternative. Give it a try, and you might never go back to store-bought yogurt again. Happy yogurt-making!

Delicious Homemade Almond Milk Yogurt Recipe Using Instant Pot — Are you in search of a dairy-free yogurt alternative that’s both delicious and healthy? Look no further! With the help of your Instant Pot, you can now create perfectly creamy almond milk yogurt at home. Not only is this homemade version free from additives and preservatives, but it’s also incredibly easy to make. Here’s a step-by-step guide to get you started on your culinary adventure. ### Ingredients You’ll Need: – 4 cups of unsweetened almond milk – 1-2 tablespoons of agar-agar or gelatin (for thickening) – 2 tablespoons of probiotic yogurt starter or dairy-free yogurt – 1-2 tablespoons of maple syrup or honey (optional) ### Equipment: – Instant Pot with yogurt setting – Whisk – Instant Pot-compatible glass jars (optional but recommended) ### Step-by-Step Instructions: #### 1. Prepare the Almond Milk Mixture Firstly, pour the unsweetened almond milk into your Instant Pot. If you’re using agar-agar or gelatin, sprinkle it into the almond milk. Whisk the mixture thoroughly to ensure that the thickening agent is well-dissolved. This step is crucial for getting the right yogurt consistency. #### 2. Heat the Mixture Set your Instant Pot to the ‘Saute’ setting to heat the almond milk mixture. Stir frequently to prevent the milk from scorching. Heat until the mixture reaches approximately 185°F (85°C). This process helps to break down proteins and ensure consistency. #### 3. Cool the Mixture Turn off the Instant Pot and allow the almond milk mixture to cool down to about 110°F (43°C). You can speed up this process by placing the inner pot in a cold water bath. Use a thermometer to check the temperature – this is important as adding the yogurt starter to a mixture that’s too hot can kill the beneficial bacteria. #### 4. Add the Yogurt Starter Once the mixture cooled to the appropriate temperature, add the probiotic yogurt starter or dairy-free yogurt. Whisk thoroughly to ensure the starter is evenly distributed. Adding sweetener at this stage is optional but can enhance the flavor of your yogurt. #### 5. Incubate the Yogurt Select the ‘Yogurt’ setting on your Instant Pot. Secure the lid (no need to seal, as pressure is not required) and set the time for 8-12 hours. Longer incubation results in tangier yogurt. You can use Instant Pot-compatible glass jars at this stage for convenient storage later. #### 6. Chill and Enjoy Once the incubation period is complete, carefully transfer the yogurt into glass containers and refrigerate for at least 4 hours. This chilling period helps the yogurt to set properly. ### Tips for Perfect Homemade Almond Milk Yogurt: – Use unsweetened almond milk for best results. – Ensure your Instant Pot and utensils are thoroughly clean to avoid contamination. – Experiment with different incubation times to find your perfect tanginess level. ### Conclusion Making almond milk yogurt at home using an Instant Pot is a rewarding and straightforward process. This dairy-free delight is perfect for those with dietary restrictions or anyone looking to enjoy a healthier yogurt alternative. Give it a try, and you might never go back to store-bought yogurt again. Happy yogurt-making!