Search

How to Easily Transition to a Plant-Based Diet for Beginners

Embrace a Plant-Based Lifestyle: Tips for Making the Vegan Switch

Making the transition to a plant-based diet is an exciting journey towards a healthier and more sustainable lifestyle. Whether it’s World Vegan Day that has inspired you or your desire to improve your overall wellbeing, going vegan is a significant yet rewarding change. This guide provides actionable insights and tips to help you seamlessly switch to a vegan diet without overwhelm.

Why Consider a Vegan Diet?

A vegan diet is not just a trend; it’s a lifestyle that offers numerous benefits:

  • Health benefits: A plant-based diet is rich in essential nutrients, fiber, and antioxidants. It has been linked to reduced risks of chronic illnesses such as heart disease, diabetes, and certain cancers.
  • Sustainability: Choosing plants over animal-based products can significantly reduce your carbon footprint and help conserve water and other vital environmental resources.
  • Ethical reasons: A vegan lifestyle avoids contributing to animal cruelty and exploitation, aligning with ethical considerations for many individuals.

Steps to Transition Smoothly to a Plant-Based Diet

Embarking on a vegan lifestyle can be daunting, but breaking it down into manageable steps can ease the transition.

1. Educate Yourself

Understanding the principles of a vegan diet is crucial. Research books, documentaries, and credible online resources to gain insights into nutritional requirements and the broad spectrum of vegan foods available.

2. Gradually Phase Out Animal Products

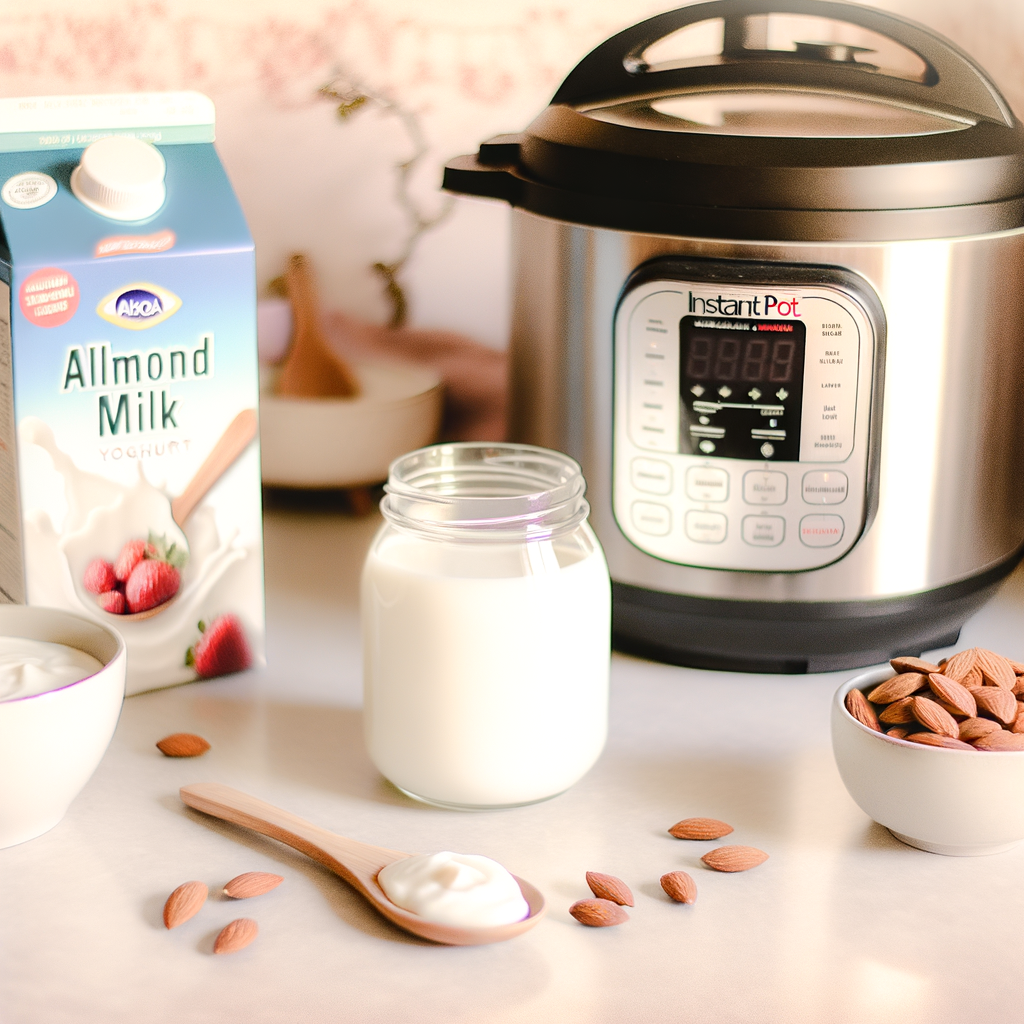
Instead of cutting out all animal products at once, gradually replace them with plant-based alternatives:

  • Replace dairy: Opt for almond milk, soy yogurt, or coconut-based cheese.
  • Substitute meat: Use legumes, tofu, or plant-based protein substitutes in your favorite recipes.
  • Switch out eggs: Use flaxseeds or chia seeds as egg replacements in baking.

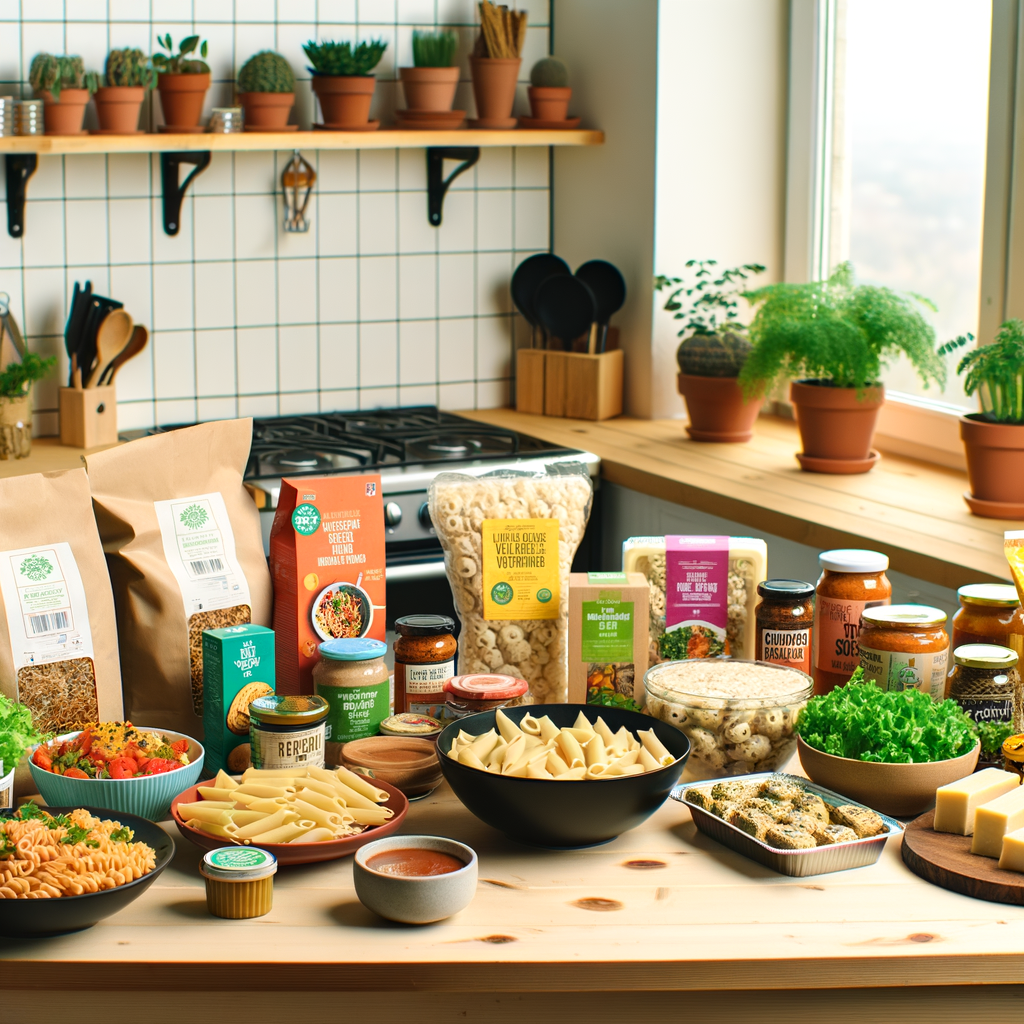
3. Stock a Vegan Pantry

A well-stocked pantry is essential for creating delicious vegan meals. Include items such as:

  • Whole grains like quinoa, brown rice, and oats
  • Beans, lentils, and chickpeas
  • Nuts and seeds like almonds, walnuts, and chia seeds
  • Herbs and spices to enhance flavors

4. Meal Planning and Preparation

Planning your meals can help you maintain variety and ensure balanced nutrition:

  • Create a weekly menu: Incorporate diverse foods to ensure you’re getting all necessary nutrients.
  • Batch cooking: Prepare meals in bulk to save time and ensure you always have vegan options available.
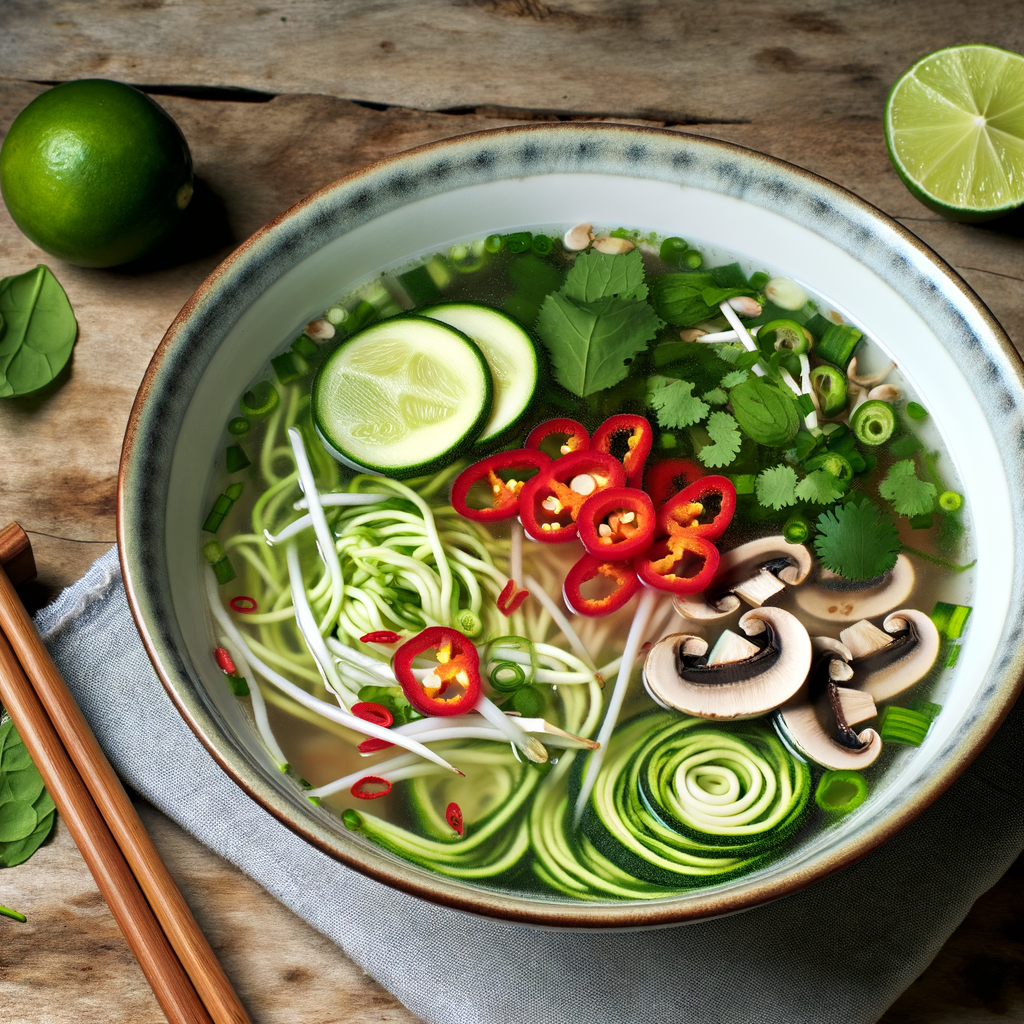
5. Find Your Flavor

Experiment with different cuisines and flavors to keep your diet exciting. Explore plant-based recipes from different cultures to find what pleases your palate.

6. Connect with the Vegan Community

Join vegan groups, forums, or social media communities to seek support, share experiences, and exchange recipes. Community support can be incredibly motivating as you navigate your new lifestyle.

Nutritional Considerations

Ensuring you get all essential nutrients is vital for maintaining a balanced vegan diet.

Essential Nutrients

While a vegan diet can provide most nutrients needed, pay special attention to:

  • Vitamin B12: Consider fortified foods or supplements as B12 is not naturally found in plant foods.
  • Iron: Increase your intake of lentils, spinach, and pumpkin seeds, and consume with vitamin C-rich foods to enhance absorption.
  • Omega-3 fatty acids: Flaxseeds, chia seeds, and walnuts are excellent sources.
  • Calcium: Fortified plant milks, leafy greens, and tofu are good sources.

Overcoming Challenges

Transitioning to a vegan diet isn’t without its pitfalls. Here’s how to tackle some common challenges:

1. Dining Out

Eating out on a vegan diet can be tricky. Research restaurants in advance, ask about vegan options, and don’t hesitate to customize dishes to your preference.

2. Food Cravings

Missing old favorites is natural. Try vegan versions of beloved non-vegan dishes to satisfy cravings without derailing your diet.

3. Staying Motivated

Reflect on your reasons for going vegan regularly to reinforce your commitment. Whether it’s health, environmental, or ethical motives, reminding yourself of these can keep you on track.

Conclusion: A Journey Worth Taking

Switching to a vegan diet is a journey of discovery, health, and compassion. With the right preparation and resources, anyone can successfully adopt a plant-based lifestyle. Remember, it’s not about perfection but progress. Celebrate your efforts, no matter how small, as each step contributes to a healthier you and a more sustainable world. Embrace the vegan journey and thrive in the endless benefits it offers.

Get our best recipes & expert tips right into your inbox!

Join over 10k subscribers

By submitting above, you agree to our privacy policy.

You might also like

Delicious Homemade Almond Milk Yogurt Recipe Using Instant Pot --- Are you in search of a dairy-free yogurt alternative that's both delicious and healthy? Look no further! With the help of your Instant Pot, you can now create perfectly creamy almond milk yogurt at home. Not only is this homemade version free from additives and preservatives, but it's also incredibly easy to make. Here's a step-by-step guide to get you started on your culinary adventure. ### Ingredients You’ll Need: - 4 cups of unsweetened almond milk - 1-2 tablespoons of agar-agar or gelatin (for thickening) - 2 tablespoons of probiotic yogurt starter or dairy-free yogurt - 1-2 tablespoons of maple syrup or honey (optional) ### Equipment: - Instant Pot with yogurt setting - Whisk - Instant Pot-compatible glass jars (optional but recommended) ### Step-by-Step Instructions: #### 1. Prepare the Almond Milk Mixture Firstly, pour the unsweetened almond milk into your Instant Pot. If you’re using agar-agar or gelatin, sprinkle it into the almond milk. Whisk the mixture thoroughly to ensure that the thickening agent is well-dissolved. This step is crucial for getting the right yogurt consistency. #### 2. Heat the Mixture Set your Instant Pot to the 'Saute' setting to heat the almond milk mixture. Stir frequently to prevent the milk from scorching. Heat until the mixture reaches approximately 185°F (85°C). This process helps to break down proteins and ensure consistency. #### 3. Cool the Mixture Turn off the Instant Pot and allow the almond milk mixture to cool down to about 110°F (43°C). You can speed up this process by placing the inner pot in a cold water bath. Use a thermometer to check the temperature - this is important as adding the yogurt starter to a mixture that's too hot can kill the beneficial bacteria. #### 4. Add the Yogurt Starter Once the mixture cooled to the appropriate temperature, add the probiotic yogurt starter or dairy-free yogurt. Whisk thoroughly to ensure the starter is evenly distributed. Adding sweetener at this stage is optional but can enhance the flavor of your yogurt. #### 5. Incubate the Yogurt Select the 'Yogurt' setting on your Instant Pot. Secure the lid (no need to seal, as pressure is not required) and set the time for 8-12 hours. Longer incubation results in tangier yogurt. You can use Instant Pot-compatible glass jars at this stage for convenient storage later. #### 6. Chill and Enjoy Once the incubation period is complete, carefully transfer the yogurt into glass containers and refrigerate for at least 4 hours. This chilling period helps the yogurt to set properly. ### Tips for Perfect Homemade Almond Milk Yogurt: - Use unsweetened almond milk for best results. - Ensure your Instant Pot and utensils are thoroughly clean to avoid contamination. - Experiment with different incubation times to find your perfect tanginess level. ### Conclusion Making almond milk yogurt at home using an Instant Pot is a rewarding and straightforward process. This dairy-free delight is perfect for those with dietary restrictions or anyone looking to enjoy a healthier yogurt alternative. Give it a try, and you might never go back to store-bought yogurt again. Happy yogurt-making!

Delicious Homemade Almond Milk Yogurt Recipe Using Instant Pot — Are you in search of a dairy-free yogurt alternative that’s both delicious and healthy? Look no further! With the help of your Instant Pot, you can now create perfectly creamy almond milk yogurt at home. Not only is this homemade version free from additives and preservatives, but it’s also incredibly easy to make. Here’s a step-by-step guide to get you started on your culinary adventure. ### Ingredients You’ll Need: – 4 cups of unsweetened almond milk – 1-2 tablespoons of agar-agar or gelatin (for thickening) – 2 tablespoons of probiotic yogurt starter or dairy-free yogurt – 1-2 tablespoons of maple syrup or honey (optional) ### Equipment: – Instant Pot with yogurt setting – Whisk – Instant Pot-compatible glass jars (optional but recommended) ### Step-by-Step Instructions: #### 1. Prepare the Almond Milk Mixture Firstly, pour the unsweetened almond milk into your Instant Pot. If you’re using agar-agar or gelatin, sprinkle it into the almond milk. Whisk the mixture thoroughly to ensure that the thickening agent is well-dissolved. This step is crucial for getting the right yogurt consistency. #### 2. Heat the Mixture Set your Instant Pot to the ‘Saute’ setting to heat the almond milk mixture. Stir frequently to prevent the milk from scorching. Heat until the mixture reaches approximately 185°F (85°C). This process helps to break down proteins and ensure consistency. #### 3. Cool the Mixture Turn off the Instant Pot and allow the almond milk mixture to cool down to about 110°F (43°C). You can speed up this process by placing the inner pot in a cold water bath. Use a thermometer to check the temperature – this is important as adding the yogurt starter to a mixture that’s too hot can kill the beneficial bacteria. #### 4. Add the Yogurt Starter Once the mixture cooled to the appropriate temperature, add the probiotic yogurt starter or dairy-free yogurt. Whisk thoroughly to ensure the starter is evenly distributed. Adding sweetener at this stage is optional but can enhance the flavor of your yogurt. #### 5. Incubate the Yogurt Select the ‘Yogurt’ setting on your Instant Pot. Secure the lid (no need to seal, as pressure is not required) and set the time for 8-12 hours. Longer incubation results in tangier yogurt. You can use Instant Pot-compatible glass jars at this stage for convenient storage later. #### 6. Chill and Enjoy Once the incubation period is complete, carefully transfer the yogurt into glass containers and refrigerate for at least 4 hours. This chilling period helps the yogurt to set properly. ### Tips for Perfect Homemade Almond Milk Yogurt: – Use unsweetened almond milk for best results. – Ensure your Instant Pot and utensils are thoroughly clean to avoid contamination. – Experiment with different incubation times to find your perfect tanginess level. ### Conclusion Making almond milk yogurt at home using an Instant Pot is a rewarding and straightforward process. This dairy-free delight is perfect for those with dietary restrictions or anyone looking to enjoy a healthier yogurt alternative. Give it a try, and you might never go back to store-bought yogurt again. Happy yogurt-making!