Search

Mastering the Instant Pot: Sauté, Pressure Cook, Slow Cook, and More

Mastering the Instant Pot: The Ultimate Kitchen Multitasker

Cooking enthusiasts and busy home cooks alike have been singing praises for the Instant Pot, and it’s easy to see why. This kitchen gadget has revolutionized the way we approach home cooking, offering convenience, speed, and versatility that makes meal prep almost effortless. In this blog post, we’ll delve into how you can make the best use of this ultimate kitchen multitasker to elevate your culinary game.

The Versatility of the Instant Pot

The Instant Pot is not just a pressure cooker; it combines multiple appliances into one. Here’s a quick rundown of its functionalities:

  • Pressure Cooker: Cooks food at high pressure, significantly reducing cooking time.
  • Slow Cooker: Perfect for those long, simmered dishes that develop deep flavors.
  • Rice Cooker: Delivers perfect rice every time.
  • Steamer: Steams vegetables, fish, and more to healthy perfection.
  • Sauté Pan: Helps you sear and brown your ingredients before cooking under pressure.
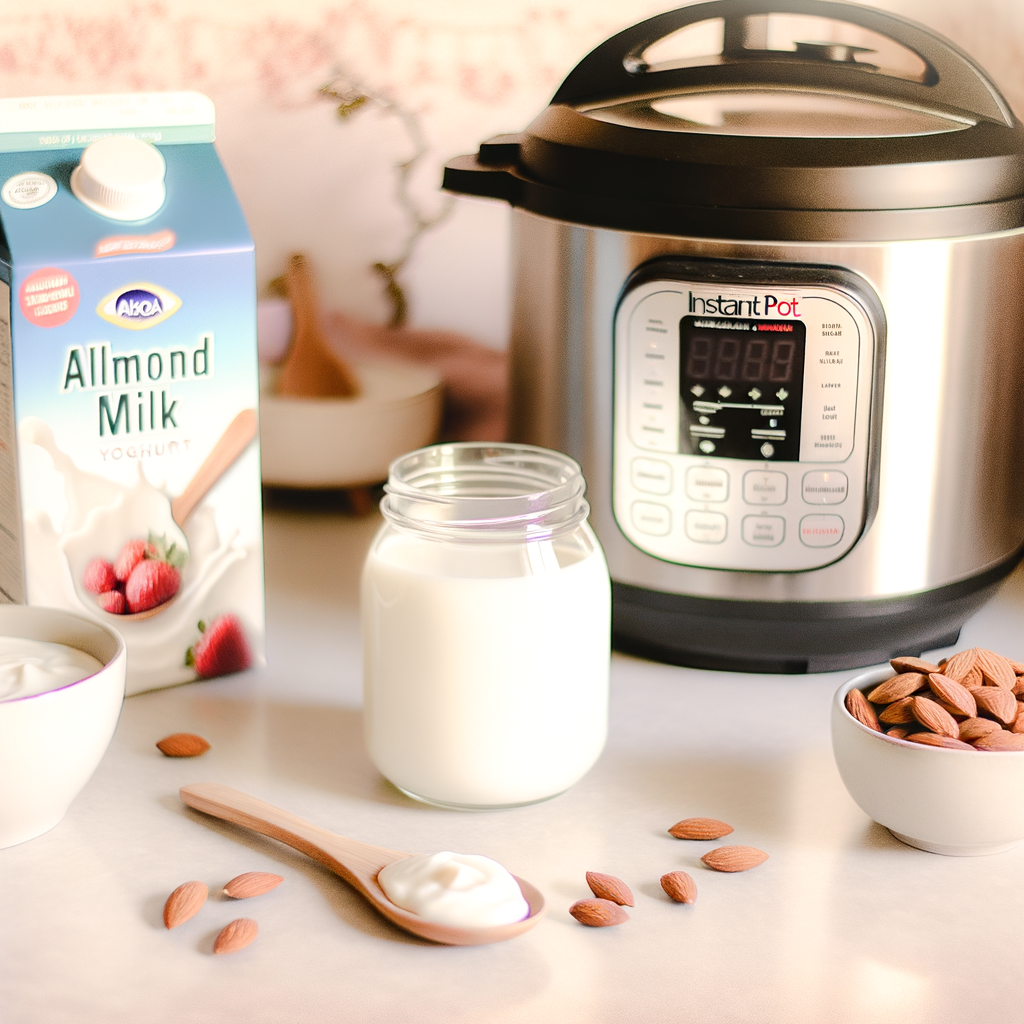
  • Yogurt Maker: Ferments milk into delicious homemade yogurt.
  • Warmer: Keeps your meals hot and ready to serve.
  • Sous Vide: Cooks vacuum-sealed food to precise temperatures.

Getting Started: Tips for First-Time Users

If you’re new to the Instant Pot, here are some essential tips to get you started:

Read the Manual

Understanding how your particular model works will save you from potential mishaps. The manual provides a comprehensive guide on the different functions and safety features.

Conduct a Water Test

A water test is a simple step to familiarize yourself with your Instant Pot. It ensures everything is working correctly and helps you get used to the settings.

Start Simple

Before diving into complex recipes, begin with basic meals like rice or steamed vegetables. This will help you understand how the Instant Pot cooks and build your confidence.

Using Instant Pot Settings

Pressure Cooking

Pressure cooking is at the heart of the Instant Pot’s capabilities. It cooks food quickly by creating steam and pressure. Here’s how to make the most of it:

  • Select the Pressure Level: The Instant Pot offers both high and low pressure settings depending on your recipe.
  • Adjust Cooking Time: Follow your recipe’s recommended cooking time. Usually, the manual or the Instant Pot community can provide insights into timing for various dishes.
  • Natural vs. Quick Pressure Release: Natural release allows pressure to drop gradually, which is ideal for soups and larger pieces of meat. Quick release venting rapidly releases pressure and is suitable for vegetables and delicate foods.

Slow Cooking

If you love the flavors that come from slow-cooked meals but are short on time, the Instant Pot can replicate this function:

  • Select the Slow Cook Option: It emulates a traditional slow cooker by cooking food over a longer period.
  • Customizable Settings: Modify the heat settings to high or low, and adjust the cooking time according to your needs.
  • Use the Right Lid: For slow cooking, a glass lid is preferable, allowing you to monitor your food without unsealing the Instant Pot.

Advanced Functions

Beyond the basics, the Instant Pot has advanced functions that can take your cooking to the next level.

Sautéing

Sautéing makes the Instant Pot a true one-pot wonder. Before pressure cooking or slow cooking, you can sauté your ingredients:

  • Temperature Control: Adjust the sautéing temperature to low, medium, or high.
  • Use for Browning: This function is excellent for browning onions, garlic, or even meats before cooking, which adds depth to your dishes.

Yogurt Making

Yes, you can make yogurt in an Instant Pot! Here’s how:

  • Pasteurize Milk: Use the sauté or boil function to heat the milk to around 180°F. This step is crucial for safe yogurt making.
  • Cooldown: Let the milk cool to approximately 110°F.
  • Inoculate: Add a yogurt starter culture or a small amount of store-bought yogurt.
  • Yogurt Setting: Set the Instant Pot to the yogurt function and let it ferment for 8-12 hours.

Instant Pot Cooking Tips

Maximize your Instant Pot’s potential with these cooking tips:

Layering

Certain foods can cook unevenly. Layering ensures that denser items like meat are closer to the heat source, while quicker-cooking veggies are on top.

Liquid Requirements

Always ensure there is enough liquid (water, broth) in the pot. This is vital for generating the steam needed for pressure cooking.

Cleaning and Maintenance

Regular maintenance extends the life of your Instant Pot. Clean the silicone ring and lid after every use, and make sure the steam release valve is unobstructed.

Popular Instant Pot Recipes

To spark your culinary creativity, here are some favorite dishes you can whip up with an Instant Pot:

Classic Pot Roast

A hearty meal that’s ready in a fraction of the usual time. Pressure cooking makes the meat incredibly tender.

Chili

Packed with flavor and cooked quickly, chili is a go-to for Instant Pot users. You can sauté the onions and meat right in the pot before pressure cooking with beans and spices.

Risotto

Achieve creamy, perfectly cooked risotto without the constant stirring. The Instant Pot’s precise pressure and cooking conditions make it easy.

Vegetarian Soups and Stews

Combine your favorite veggies and spices, set the timer, and let the Instant Pot do the work for a comforting bowl of soup or stew.

Be it for a quick weekday meal or an elaborate weekend dinner, the Instant Pot proves to be a versatile tool that simplifies cooking. As you become more familiar with its various functions, you’ll discover the endless possibilities it offers, making it a priceless addition to your kitchen.

Get our best recipes & expert tips right into your inbox!

Join over 10k subscribers

By submitting above, you agree to our privacy policy.

You might also like

Delicious Homemade Almond Milk Yogurt Recipe Using Instant Pot --- Are you in search of a dairy-free yogurt alternative that's both delicious and healthy? Look no further! With the help of your Instant Pot, you can now create perfectly creamy almond milk yogurt at home. Not only is this homemade version free from additives and preservatives, but it's also incredibly easy to make. Here's a step-by-step guide to get you started on your culinary adventure. ### Ingredients You’ll Need: - 4 cups of unsweetened almond milk - 1-2 tablespoons of agar-agar or gelatin (for thickening) - 2 tablespoons of probiotic yogurt starter or dairy-free yogurt - 1-2 tablespoons of maple syrup or honey (optional) ### Equipment: - Instant Pot with yogurt setting - Whisk - Instant Pot-compatible glass jars (optional but recommended) ### Step-by-Step Instructions: #### 1. Prepare the Almond Milk Mixture Firstly, pour the unsweetened almond milk into your Instant Pot. If you’re using agar-agar or gelatin, sprinkle it into the almond milk. Whisk the mixture thoroughly to ensure that the thickening agent is well-dissolved. This step is crucial for getting the right yogurt consistency. #### 2. Heat the Mixture Set your Instant Pot to the 'Saute' setting to heat the almond milk mixture. Stir frequently to prevent the milk from scorching. Heat until the mixture reaches approximately 185°F (85°C). This process helps to break down proteins and ensure consistency. #### 3. Cool the Mixture Turn off the Instant Pot and allow the almond milk mixture to cool down to about 110°F (43°C). You can speed up this process by placing the inner pot in a cold water bath. Use a thermometer to check the temperature - this is important as adding the yogurt starter to a mixture that's too hot can kill the beneficial bacteria. #### 4. Add the Yogurt Starter Once the mixture cooled to the appropriate temperature, add the probiotic yogurt starter or dairy-free yogurt. Whisk thoroughly to ensure the starter is evenly distributed. Adding sweetener at this stage is optional but can enhance the flavor of your yogurt. #### 5. Incubate the Yogurt Select the 'Yogurt' setting on your Instant Pot. Secure the lid (no need to seal, as pressure is not required) and set the time for 8-12 hours. Longer incubation results in tangier yogurt. You can use Instant Pot-compatible glass jars at this stage for convenient storage later. #### 6. Chill and Enjoy Once the incubation period is complete, carefully transfer the yogurt into glass containers and refrigerate for at least 4 hours. This chilling period helps the yogurt to set properly. ### Tips for Perfect Homemade Almond Milk Yogurt: - Use unsweetened almond milk for best results. - Ensure your Instant Pot and utensils are thoroughly clean to avoid contamination. - Experiment with different incubation times to find your perfect tanginess level. ### Conclusion Making almond milk yogurt at home using an Instant Pot is a rewarding and straightforward process. This dairy-free delight is perfect for those with dietary restrictions or anyone looking to enjoy a healthier yogurt alternative. Give it a try, and you might never go back to store-bought yogurt again. Happy yogurt-making!

Delicious Homemade Almond Milk Yogurt Recipe Using Instant Pot — Are you in search of a dairy-free yogurt alternative that’s both delicious and healthy? Look no further! With the help of your Instant Pot, you can now create perfectly creamy almond milk yogurt at home. Not only is this homemade version free from additives and preservatives, but it’s also incredibly easy to make. Here’s a step-by-step guide to get you started on your culinary adventure. ### Ingredients You’ll Need: – 4 cups of unsweetened almond milk – 1-2 tablespoons of agar-agar or gelatin (for thickening) – 2 tablespoons of probiotic yogurt starter or dairy-free yogurt – 1-2 tablespoons of maple syrup or honey (optional) ### Equipment: – Instant Pot with yogurt setting – Whisk – Instant Pot-compatible glass jars (optional but recommended) ### Step-by-Step Instructions: #### 1. Prepare the Almond Milk Mixture Firstly, pour the unsweetened almond milk into your Instant Pot. If you’re using agar-agar or gelatin, sprinkle it into the almond milk. Whisk the mixture thoroughly to ensure that the thickening agent is well-dissolved. This step is crucial for getting the right yogurt consistency. #### 2. Heat the Mixture Set your Instant Pot to the ‘Saute’ setting to heat the almond milk mixture. Stir frequently to prevent the milk from scorching. Heat until the mixture reaches approximately 185°F (85°C). This process helps to break down proteins and ensure consistency. #### 3. Cool the Mixture Turn off the Instant Pot and allow the almond milk mixture to cool down to about 110°F (43°C). You can speed up this process by placing the inner pot in a cold water bath. Use a thermometer to check the temperature – this is important as adding the yogurt starter to a mixture that’s too hot can kill the beneficial bacteria. #### 4. Add the Yogurt Starter Once the mixture cooled to the appropriate temperature, add the probiotic yogurt starter or dairy-free yogurt. Whisk thoroughly to ensure the starter is evenly distributed. Adding sweetener at this stage is optional but can enhance the flavor of your yogurt. #### 5. Incubate the Yogurt Select the ‘Yogurt’ setting on your Instant Pot. Secure the lid (no need to seal, as pressure is not required) and set the time for 8-12 hours. Longer incubation results in tangier yogurt. You can use Instant Pot-compatible glass jars at this stage for convenient storage later. #### 6. Chill and Enjoy Once the incubation period is complete, carefully transfer the yogurt into glass containers and refrigerate for at least 4 hours. This chilling period helps the yogurt to set properly. ### Tips for Perfect Homemade Almond Milk Yogurt: – Use unsweetened almond milk for best results. – Ensure your Instant Pot and utensils are thoroughly clean to avoid contamination. – Experiment with different incubation times to find your perfect tanginess level. ### Conclusion Making almond milk yogurt at home using an Instant Pot is a rewarding and straightforward process. This dairy-free delight is perfect for those with dietary restrictions or anyone looking to enjoy a healthier yogurt alternative. Give it a try, and you might never go back to store-bought yogurt again. Happy yogurt-making!