Search

Vegan Chef Recipes from Seaside Bagels Shine in Cape Fear Cooking Challenge

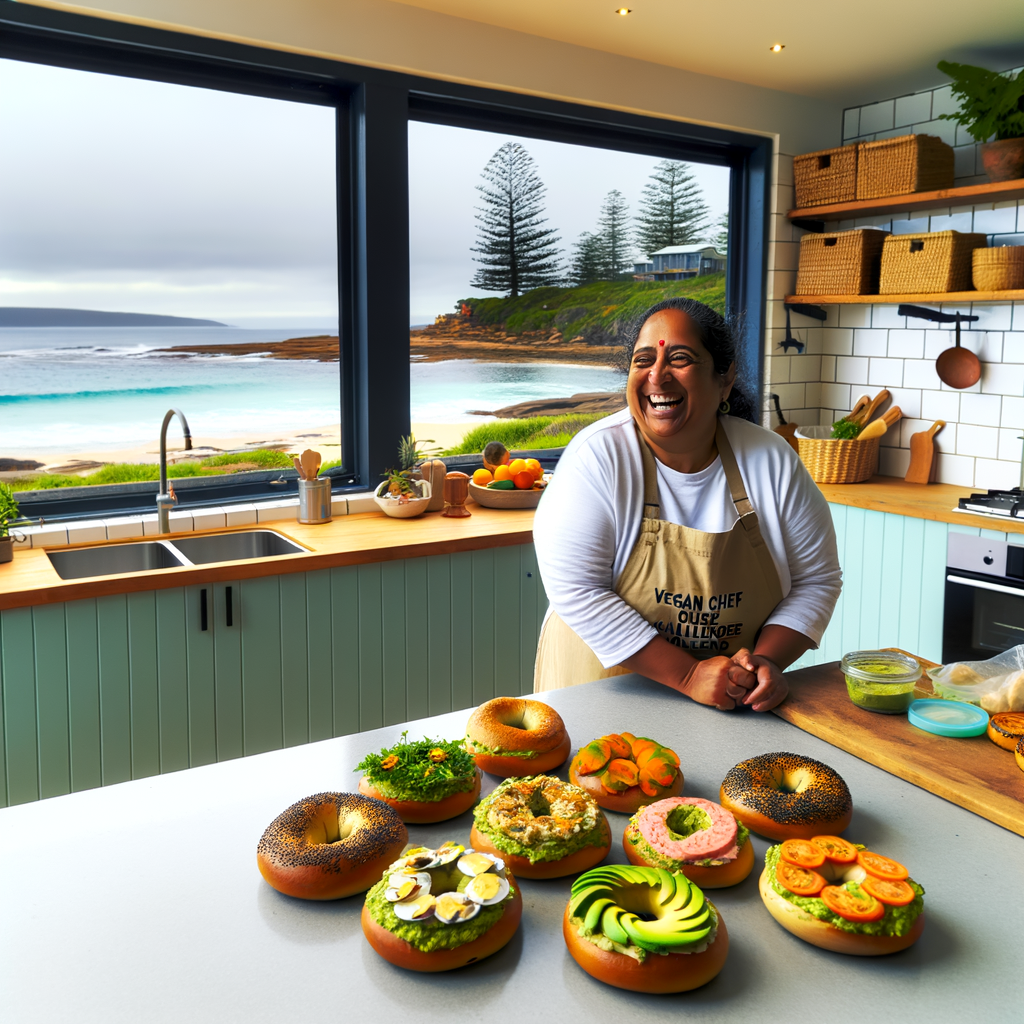
Unveiling Culinary Magic: Seaside Bagels’ Vegan Chef Challenge

Looking to tickle your taste buds with some exceptional culinary creations? Look no further! Cape Fear Cooking’s Seaside Bagels is turning heads with their innovative and mouth-watering recipes, brought to life during the Vegan Chef Challenge. This event highlights versatile vegan dishes that promise to tantalize the senses and support a plant-based lifestyle. Let’s delve into the details of this exciting venture.

The Allure of Seaside Bagels

Nestled along the Cape Fear coastline, Seaside Bagels has become a beloved favorite for food enthusiasts. Their specialty lies in crafting exceptional bagels that marry taste with quality. From daily fresh bakes to unique flavor profiles, this bagel haven ensures that every bite is a delightful experience.

Key Features:

  • Fresh, locally sourced ingredients
  • Creative and innovative recipes
  • Welcoming and vibrant atmosphere

The Vegan Chef Challenge: A Culinary Spectacle

The Vegan Chef Challenge at Seaside Bagels is a testament to their commitment to inclusivity and innovation. By focusing on plant-based culinary delights, this event not only caters to vegans but also introduces everyone to the rich and diverse world of vegan cuisine.

Event Highlights

Throughout the challenge, chefs are encouraged to experiment with a variety of vegan ingredients to craft dishes that are bold, delicious, and visually appealing. Some of the standout creations include vibrant bagels topped with an assortment of vegan-friendly spreads and toppings.

Outstanding Dishes:

  • Rainbow Veggie Bagels
  • Nut-Butter and Fruit Bagels
  • Spicy Avocado Bagels

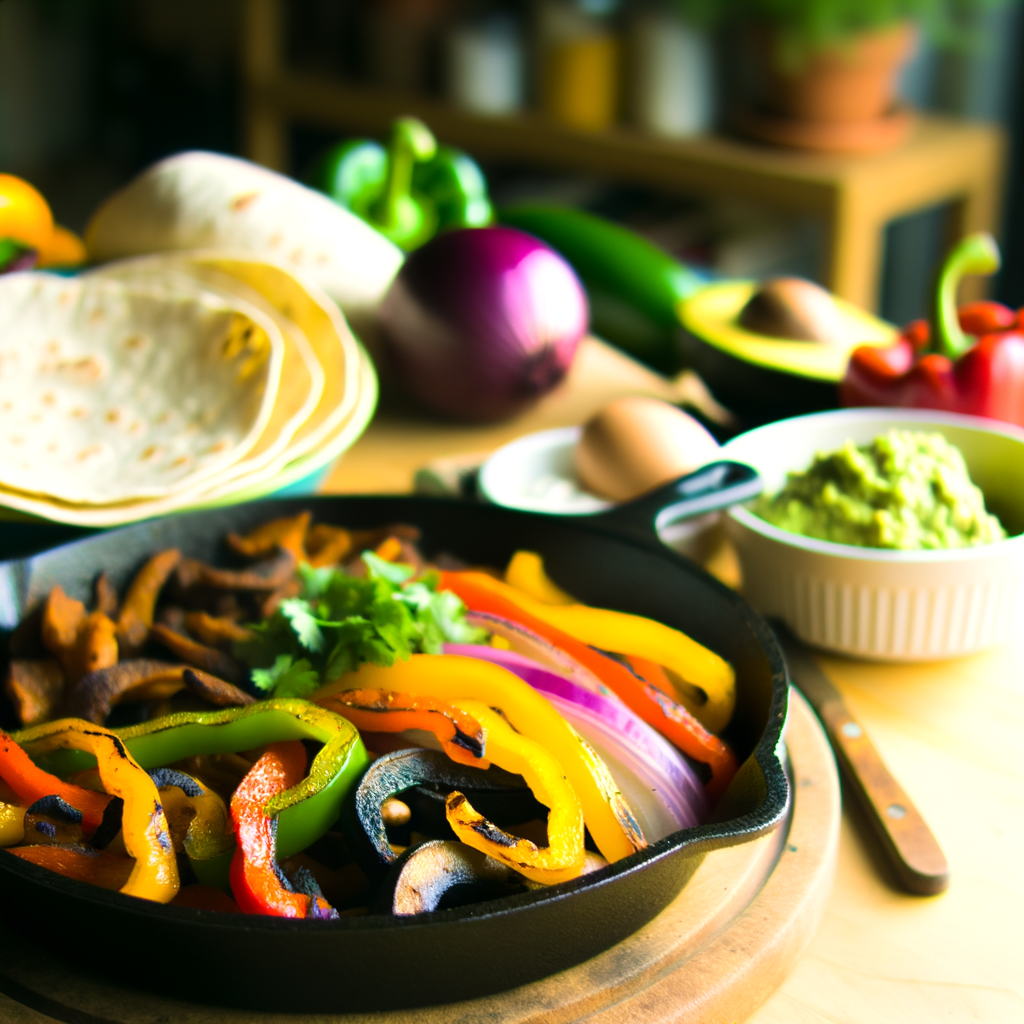
Recipes to Try at Home

Inspired by the incredible dishes from the Vegan Chef Challenge? Why not try your hand at recreating these recipes at home? Here are some easy-to-follow recipes that ensure you can taste the magic of Seaside Bagels in your own kitchen.

1. Rainbow Veggie Bagels

Ideal for a healthy breakfast or brunch, these bagels are colorful and nutritious. Follow the steps below to create your own version of the Rainbow Veggie Bagels.

Ingredients:

  • Whole grain bagels
  • Hummus
  • Sliced bell peppers (red, yellow, green)
  • Shredded carrots
  • Sliced cucumber
  • Microgreens

Instructions:

  1. Toast the whole grain bagels until crispy and golden.
  2. Spread a generous layer of hummus over each bagel half.
  3. Top with sliced bell peppers, shredded carrots, and cucumber slices.
  4. Garnish with microgreens for an added nutrient boost.

2. Nut-Butter and Fruit Bagels

Combining the richness of nut butter and the natural sweetness of fruits, these bagels are perfect for a satisfying snack or a light meal.

Ingredients:

  • Bagels of your choice
  • Almond or peanut butter
  • Sliced bananas
  • Fresh blueberries
  • Drizzle of maple syrup (optional)

Instructions:

  1. Lightly toast the bagels.
  2. Spread almond or peanut butter on each half of the bagels.
  3. Layer with sliced bananas and fresh blueberries.
  4. Drizzle with a touch of maple syrup if desired.

3. Spicy Avocado Bagels

For those who enjoy a bit of a kick, the Spicy Avocado Bagels are a delectable treat that’s sure to leave you wanting more.

Ingredients:

  • Plain or everything bagels
  • Ripe avocados
  • Chopped red onion
  • Sliced jalapenos
  • Fresh cilantro
  • Lime juice
  • Crushed red pepper flakes

Instructions:

  1. Halve and toast the bagels until lightly browned.
  2. Mash the avocados in a bowl and mix with chopped red onion, sliced jalapenos, cilantro, and lime juice.
  3. Spread the avocado mixture evenly over each bagel half.
  4. Sprinkle with crushed red pepper flakes for an extra spicy punch.

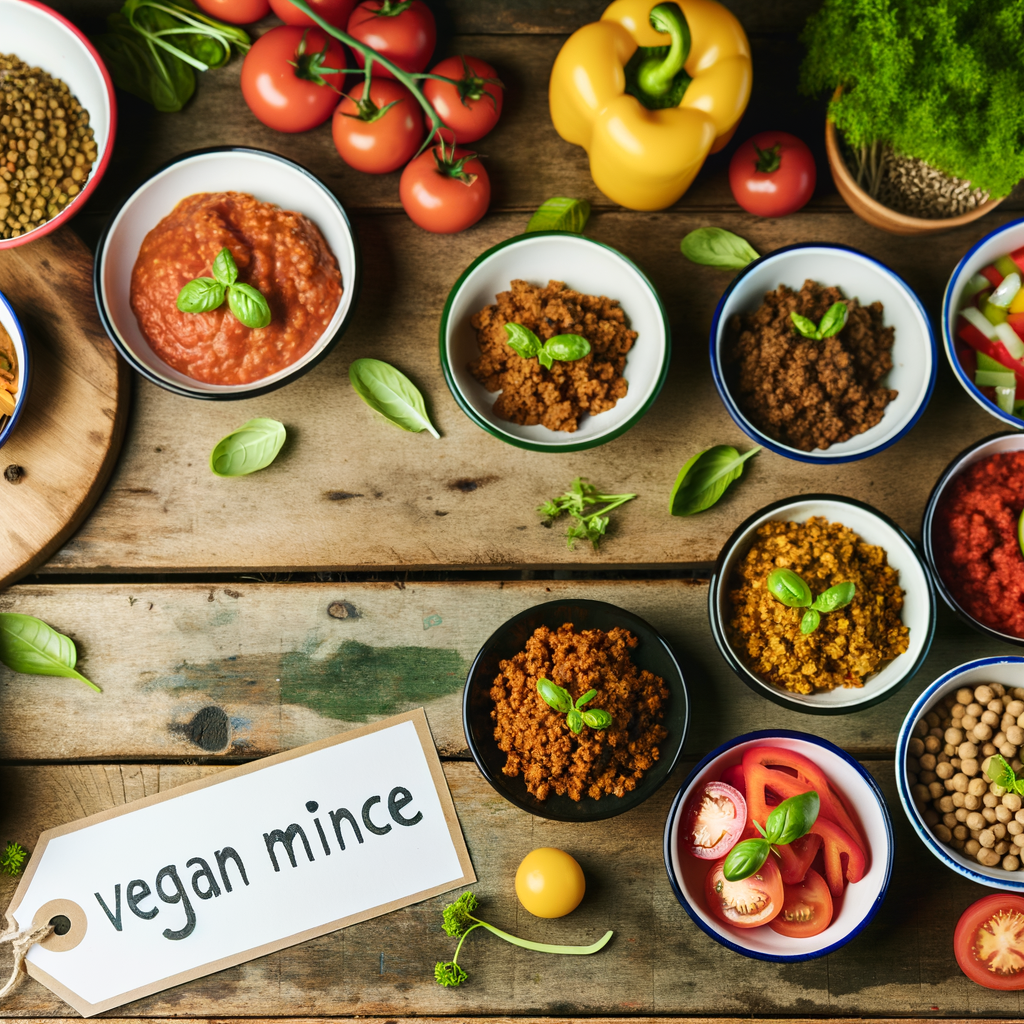
Why Vegan? The Benefits of a Plant-Based Diet

Venturing into vegan cuisine is not just about exploring new flavors; it’s also a step toward a healthier and more sustainable lifestyle. Here are some benefits of adopting a plant-based diet.

Health Advantages:

  • Improved heart health
  • Better digestion due to high fiber content
  • Reduced risk of chronic diseases
  • Weight management

Environmental Impact:

  • Reduced carbon footprint
  • Lower water usage
  • Less soil degradation

Join the Culinary Revolution

Cape Fear Cooking’s Seaside Bagels and their Vegan Chef Challenge illustrate how vibrant and delectable vegan cuisine can be. Whether you’re a dedicated vegan or a curious foodie, this event offers an excellent opportunity to explore plant-based dishes that are bursting with flavor. So, roll up your sleeves and start creating your own vegan masterpieces.

Get our best recipes & expert tips right into your inbox!

Join over 10k subscribers

By submitting above, you agree to our privacy policy.

You might also like

Delicious Homemade Almond Milk Yogurt Recipe Using Instant Pot --- Are you in search of a dairy-free yogurt alternative that's both delicious and healthy? Look no further! With the help of your Instant Pot, you can now create perfectly creamy almond milk yogurt at home. Not only is this homemade version free from additives and preservatives, but it's also incredibly easy to make. Here's a step-by-step guide to get you started on your culinary adventure. ### Ingredients You’ll Need: - 4 cups of unsweetened almond milk - 1-2 tablespoons of agar-agar or gelatin (for thickening) - 2 tablespoons of probiotic yogurt starter or dairy-free yogurt - 1-2 tablespoons of maple syrup or honey (optional) ### Equipment: - Instant Pot with yogurt setting - Whisk - Instant Pot-compatible glass jars (optional but recommended) ### Step-by-Step Instructions: #### 1. Prepare the Almond Milk Mixture Firstly, pour the unsweetened almond milk into your Instant Pot. If you’re using agar-agar or gelatin, sprinkle it into the almond milk. Whisk the mixture thoroughly to ensure that the thickening agent is well-dissolved. This step is crucial for getting the right yogurt consistency. #### 2. Heat the Mixture Set your Instant Pot to the 'Saute' setting to heat the almond milk mixture. Stir frequently to prevent the milk from scorching. Heat until the mixture reaches approximately 185°F (85°C). This process helps to break down proteins and ensure consistency. #### 3. Cool the Mixture Turn off the Instant Pot and allow the almond milk mixture to cool down to about 110°F (43°C). You can speed up this process by placing the inner pot in a cold water bath. Use a thermometer to check the temperature - this is important as adding the yogurt starter to a mixture that's too hot can kill the beneficial bacteria. #### 4. Add the Yogurt Starter Once the mixture cooled to the appropriate temperature, add the probiotic yogurt starter or dairy-free yogurt. Whisk thoroughly to ensure the starter is evenly distributed. Adding sweetener at this stage is optional but can enhance the flavor of your yogurt. #### 5. Incubate the Yogurt Select the 'Yogurt' setting on your Instant Pot. Secure the lid (no need to seal, as pressure is not required) and set the time for 8-12 hours. Longer incubation results in tangier yogurt. You can use Instant Pot-compatible glass jars at this stage for convenient storage later. #### 6. Chill and Enjoy Once the incubation period is complete, carefully transfer the yogurt into glass containers and refrigerate for at least 4 hours. This chilling period helps the yogurt to set properly. ### Tips for Perfect Homemade Almond Milk Yogurt: - Use unsweetened almond milk for best results. - Ensure your Instant Pot and utensils are thoroughly clean to avoid contamination. - Experiment with different incubation times to find your perfect tanginess level. ### Conclusion Making almond milk yogurt at home using an Instant Pot is a rewarding and straightforward process. This dairy-free delight is perfect for those with dietary restrictions or anyone looking to enjoy a healthier yogurt alternative. Give it a try, and you might never go back to store-bought yogurt again. Happy yogurt-making!

Delicious Homemade Almond Milk Yogurt Recipe Using Instant Pot — Are you in search of a dairy-free yogurt alternative that’s both delicious and healthy? Look no further! With the help of your Instant Pot, you can now create perfectly creamy almond milk yogurt at home. Not only is this homemade version free from additives and preservatives, but it’s also incredibly easy to make. Here’s a step-by-step guide to get you started on your culinary adventure. ### Ingredients You’ll Need: – 4 cups of unsweetened almond milk – 1-2 tablespoons of agar-agar or gelatin (for thickening) – 2 tablespoons of probiotic yogurt starter or dairy-free yogurt – 1-2 tablespoons of maple syrup or honey (optional) ### Equipment: – Instant Pot with yogurt setting – Whisk – Instant Pot-compatible glass jars (optional but recommended) ### Step-by-Step Instructions: #### 1. Prepare the Almond Milk Mixture Firstly, pour the unsweetened almond milk into your Instant Pot. If you’re using agar-agar or gelatin, sprinkle it into the almond milk. Whisk the mixture thoroughly to ensure that the thickening agent is well-dissolved. This step is crucial for getting the right yogurt consistency. #### 2. Heat the Mixture Set your Instant Pot to the ‘Saute’ setting to heat the almond milk mixture. Stir frequently to prevent the milk from scorching. Heat until the mixture reaches approximately 185°F (85°C). This process helps to break down proteins and ensure consistency. #### 3. Cool the Mixture Turn off the Instant Pot and allow the almond milk mixture to cool down to about 110°F (43°C). You can speed up this process by placing the inner pot in a cold water bath. Use a thermometer to check the temperature – this is important as adding the yogurt starter to a mixture that’s too hot can kill the beneficial bacteria. #### 4. Add the Yogurt Starter Once the mixture cooled to the appropriate temperature, add the probiotic yogurt starter or dairy-free yogurt. Whisk thoroughly to ensure the starter is evenly distributed. Adding sweetener at this stage is optional but can enhance the flavor of your yogurt. #### 5. Incubate the Yogurt Select the ‘Yogurt’ setting on your Instant Pot. Secure the lid (no need to seal, as pressure is not required) and set the time for 8-12 hours. Longer incubation results in tangier yogurt. You can use Instant Pot-compatible glass jars at this stage for convenient storage later. #### 6. Chill and Enjoy Once the incubation period is complete, carefully transfer the yogurt into glass containers and refrigerate for at least 4 hours. This chilling period helps the yogurt to set properly. ### Tips for Perfect Homemade Almond Milk Yogurt: – Use unsweetened almond milk for best results. – Ensure your Instant Pot and utensils are thoroughly clean to avoid contamination. – Experiment with different incubation times to find your perfect tanginess level. ### Conclusion Making almond milk yogurt at home using an Instant Pot is a rewarding and straightforward process. This dairy-free delight is perfect for those with dietary restrictions or anyone looking to enjoy a healthier yogurt alternative. Give it a try, and you might never go back to store-bought yogurt again. Happy yogurt-making!